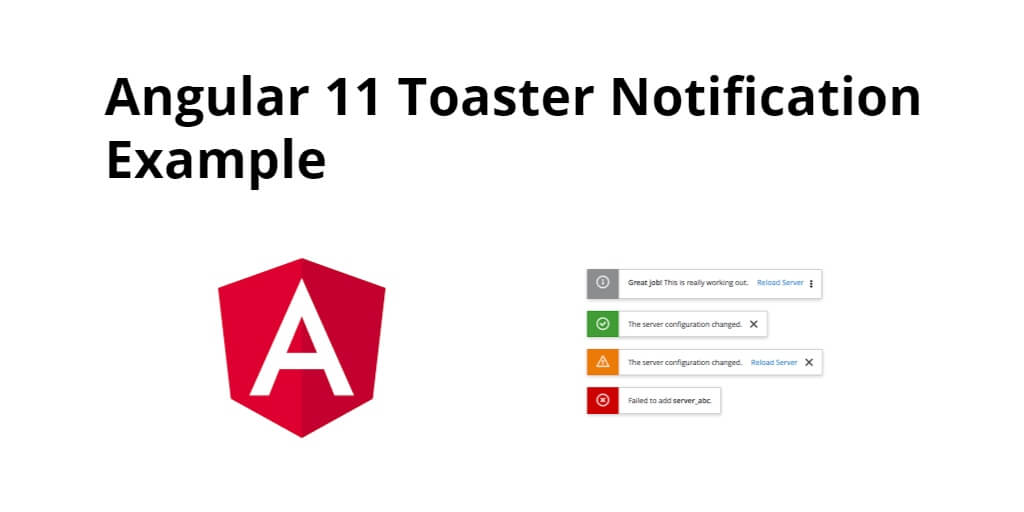
Angular 10/11/12 toastr/toaster notification example. In this tutorial, you will learn step by step how to implement toaster notification in angular 11.
And also, this tutorial will explain to you how to use toaster notification in the angular 11/12 using ngx-toastr npm package for toastr notification. And two npm packages ngx-toastr and @angular/animations that provide to use success, error, warning and info alert messages.
How to use Toastr Notification in Angular 12/11?
- Step 1 – Create New Angular App
- Step 2 – Install Toaster Notification
- Step 3 – Add Code on App.Module.ts File
- Step 4 – Add Code on View File
- Step 5 – Add Code On app.Component ts File
- Step 6 – Create Service For Notification
- Step 7 – Start the Angular App
Step 1 – Create New Angular App
First of all, open your terminal and execute the following command on it to install angular app:
ng new my-new-app
Step 2 – Install Toaster Notification
Then install NPM package called npm install ngx-toastr –save for implement toaster notification in angular 11 app. So, You can install the packages by executing the following commands on the terminal:
npm install ngx-toastr --save
npm install @angular/animations --save
After that, open angular.json file and update the following code into it:
.....
    "styles": [
      "node_modules/ngx-toastr/toastr.css",
      "src/styles.css"
    ],
.....
Step 3 – Add Code on App.Module.ts File
In this step, visit src/app directory and open app.module.ts file. And then add the following lines of into app.module.ts file:
import { BrowserModule } from '@angular/platform-browser';
import { NgModule } from '@angular/core';

import { AppComponent } from './app.component';
import { BrowserAnimationsModule } from '@angular/platform-browser/animations';
import { ToastrModule } from 'ngx-toastr';

@NgModule({
  declarations: [
    AppComponent
  ],
  imports: [
    BrowserModule,
    BrowserAnimationsModule,
    ToastrModule.forRoot()
  ],
  providers: [],
  bootstrap: [AppComponent]
})
export class AppModule { }
Step 4 – Add Code on View File
In this step, create buttons for toaster notification in angular app. So, visit src/app/ and app.component.html and update the following code into it:
<h1>Angular 12 Toastr Notifications Example - Tutsmake.com</h1>

<button (click)="showToasterSuccess()">
    Success Toaster
</button>

<button (click)="showToasterError()">
    Error Toaster
</button>

<button (click)="showToasterInfo()">
    Info Toaster
</button>

<button (click)="showToasterWarning()">
    Warning Toaster
</button>
Step 5 – Add Code On app.Component ts File
In this step, visit the src/app directory and open app.component.ts. Then add the following code into component.ts file:
import { Component } from '@angular/core';

import { NotificationService } from './notification.service'

@Component({
  selector: 'app-root',
  templateUrl: './app.component.html',
  styleUrls: ['./app.component.css']
})
export class AppComponent {
  title = 'toaster-not';

  constructor(private notifyService : NotificationService) { }

  showToasterSuccess(){
      this.notifyService.showSuccess("Data shown successfully !!", "tutsmake.com")
  }

  showToasterError(){
      this.notifyService.showError("Something is wrong", "tutsmake.com")
  }

  showToasterInfo(){
      this.notifyService.showInfo("This is info", "tutsmake.com")
  }

  showToasterWarning(){
      this.notifyService.showWarning("This is warning", "tutsmake.com")
  }
}
Step 6 – Create Service For Notification
In this step, open your terminal and execute the following command on it:
ng generate service notification
Then visit the src/app directory and open notification.service.ts. Then add the following code into notification.service.ts file:
import { Injectable } from '@angular/core';

import { ToastrService } from 'ngx-toastr';

@Injectable({
  providedIn: 'root'
})
export class NotificationService {

  constructor(private toastr: ToastrService) { }

  showSuccess(message, title){
      this.toastr.success(message, title)
  }

  showError(message, title){
      this.toastr.error(message, title)
  }

  showInfo(message, title){
      this.toastr.info(message, title)
  }

  showWarning(message, title){
      this.toastr.warning(message, title)
  }

}
Step 7 – Start the Angular App
In this step, execute the following command on terminal to start angular app:
ng serve

nice!
thanks !