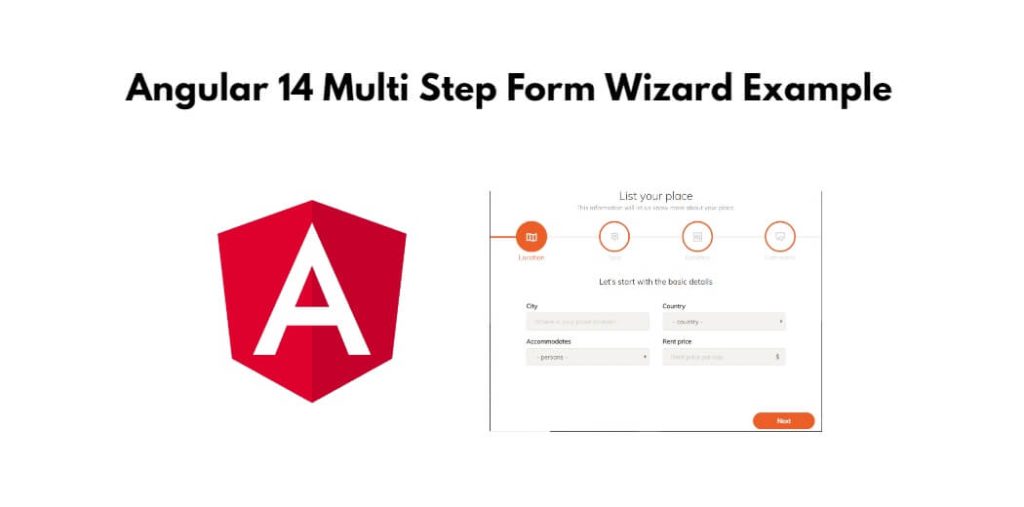
Angular multistep form wizard example. In this tutorial, you will learn how to create multi step form wizard in angular 14 apps.
Angular 14 Multi Step Form Wizard Example
Follow the following steps to create multi step form wizard in angular 14 apps; as follows:
- Step 1 – Create New Angular App
- Step 2 – Install Material Design Library
- Step 3 – Import Modules in Module.ts File
- Step 4 – Create Multi Step Form Wizard on View File
- Step 5 – Add Code On app.Component ts File
- Step 6 – Start the Angular App
Step 1 – Create New Angular App
First of all, open your terminal and execute the following command on it to install angular app:
ng new my-new-app
Step 2 – Install Material Design Library
Then install material desing library for implement multi step form wizard in angular app. So, You can install the packages by executing the following commands on the terminal:
ng add @angular/material
Step 3 – Import Modules in Module.ts File
In this step, visit src/app directory and open app.module.ts file. And then add the following lines of into app.module.ts file:
import { BrowserModule } from '@angular/platform-browser';
import { NgModule } from '@angular/core';

import { AppComponent } from './app.component';
import { BrowserAnimationsModule } from '@angular/platform-browser/animations';
import {FormsModule, ReactiveFormsModule} from '@angular/forms';
import {MatStepperModule} from '@angular/material/stepper';
import {MatInputModule} from '@angular/material/input';
import {MatButtonModule} from '@angular/material/button';
import {MatListModule} from '@angular/material/list';

@NgModule({
  declarations: [
    AppComponent
  ],
  imports: [
    BrowserModule,
    BrowserAnimationsModule,
    MatStepperModule,
    FormsModule,
    ReactiveFormsModule,
    MatInputModule,
    MatButtonModule,
    MatListModule
  ],
  providers: [],
  bootstrap: [AppComponent]
})
export class AppModule { }
Step 4 – Create Multi Step Form Wizard on View File
In this step, create multi step form wizard in the angular apps. So, visit src/app/ and app.component.html and update the following code into it:
<h1>Angular Multi Step Form Example - Tutsmake.com</h1>

<h3>Create Product</h3>

<mat-horizontal-stepper [linear]="isLinear" #stepper>
  <mat-step [stepControl]="firstFormGroup">
    <form [formGroup]="firstFormGroup">
      <ng-template matStepLabel>Basic Details</ng-template>
      <mat-form-field>
        <mat-label>Name</mat-label>
        <input matInput placeholder="Name" formControlName="name" required>
      </mat-form-field>
      <br/>
      <mat-form-field>
        <mat-label>Description</mat-label>
        <textarea matInput placeholder="Description" formControlName="description" required>
        </textarea>
      </mat-form-field>
      <div>
        <button mat-button matStepperNext>Next</button>
      </div>
    </form>
  </mat-step>
  <mat-step [stepControl]="secondFormGroup">
    <form [formGroup]="secondFormGroup">
      <ng-template matStepLabel>Amount & Stock</ng-template>
      <mat-form-field>
        <mat-label>Amount</mat-label>
        <input matInput placeholder="Amount" formControlName="amount" required>
      </mat-form-field>
      <br/>
      <mat-form-field>
        <mat-label>Stock</mat-label>
        <input matInput placeholder="Stock" formControlName="stock" required>
      </mat-form-field>
      <br/>
      <div>
        <button mat-button matStepperPrevious>Back</button>
        <button mat-button matStepperNext>Next</button>
      </div>
    </form>
  </mat-step>
  <mat-step>
    <ng-template matStepLabel>Done</ng-template>
    <p>You are now done.</p>

    <mat-list>
	 <mat-list-item> <strong>Name:</strong> {{ this.firstFormGroup.value.name }}</mat-list-item>
	 <mat-list-item> <strong>Description:</strong> {{ this.firstFormGroup.value.description }}</mat-list-item>


	 <mat-list-item> <strong>Amount:</strong> {{ this.secondFormGroup.value.amount }}</mat-list-item>


	 <mat-list-item> <strong>Stock:</strong> {{ this.secondFormGroup.value.stock }}</mat-list-item>
	</mat-list>

    <div>
      <button mat-button matStepperPrevious>Back</button>
      <button mat-button (click)="stepper.reset()">Reset</button>
      <button mat-button (click)="submit()">Submit</button>
    </div>
  </mat-step>
</mat-horizontal-stepper>
Step 5 – Add Code On app.Component ts File
In this step, visit the src/app directory and open app.component.ts. Then add the following code into component.ts file:
import { Component } from '@angular/core';
import {FormBuilder, FormGroup, Validators} from '@angular/forms';

@Component({
  selector: 'app-root',
  templateUrl: './app.component.html',
  styleUrls: ['./app.component.css']
})
export class AppComponent {
  title = 'newMat';

  isLinear = true;
  firstFormGroup: FormGroup;
  secondFormGroup: FormGroup;

  constructor(private _formBuilder: FormBuilder) {}

  ngOnInit() {
    this.firstFormGroup = this._formBuilder.group({
      name: ['', Validators.required],
      description: ['', Validators.required]
    });
    this.secondFormGroup = this._formBuilder.group({
      amount: ['', Validators.required],
      stock: ['', Validators.required]
    });
  }

  submit(){
      console.log(this.firstFormGroup.value);
      console.log(this.secondFormGroup.value);
  }
}
Step 6 – Start the Angular App
In this step, execute the following command on terminal to start angular apps:
ng serve