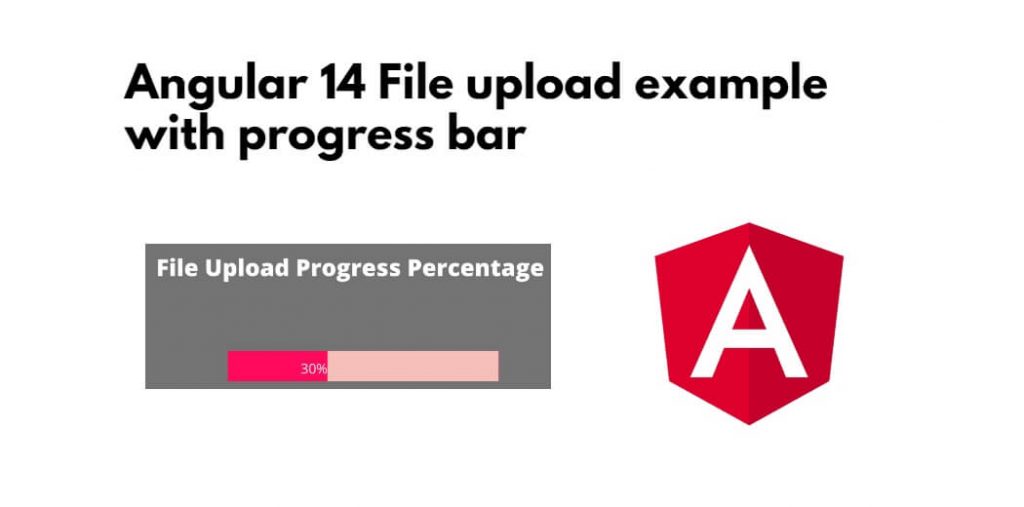
Angular 14 file or Image upload with a progress bar; In this tutorial, you will learn how to upload files or images with progress bar in angular 14 apps using web rest APIs.
Angular 14 File Upload with Progress Bar using REST Apis Example
Use the following steps to upload a file with progress bar in angular 13 apps with bootstrap using rest web apis; as follows:
- Step 1 – Create New Angular App
- Step 2 – Install and set up the Bootstrap 4 UI framework
- Step 3 – Import Modules on app.module.ts
- Step 4 – Create Upload File Components
- Step 5 – Import Components app.component.ts
- Step 6 – Create File Upload Services
- Step 7 – Create Apis To Upload Image In Directory
Step 1 – Create New Angular App
First of all, open your terminal and execute the following command on it to install angular app:
ng new my-new-app
Step 2 – Install and set up the Bootstrap 5 UI framework
Open your terminal and execute the following command to install bootstrap 5 in angular app:
npm install bootstrap
Add the bootstrap style-sheet in the styles array in angular.json file.
"styles": [
          "node_modules/bootstrap/dist/css/bootstrap.min.css",
          "src/styles.css"
         ]
Step 3 – Import Modules on app.module.ts
Then, Open app.module.ts file and import HttpClientModule, FormsModule, ReactiveFormsModule to app.module.ts file like following:
import { HttpClientModule } from '@angular/common/http';

@NgModule({
  declarations: [...],
  imports: [
     HttpClientModule
     ReactiveFormsModule
  ],
  bootstrap: [...]
})

export class AppModule { }
Step 4 – Create Upload File Components
In this step, create html markup for file upload form with input file element and image tag. So, visit src/app/app.component.html and update the following code into it:
<div class="container">
    <form [formGroup]="form" (ngSubmit)="submitUser()">

        <!-- Progress Bar -->
        <div class="progress form-group" *ngIf="progress > 0">
            <div class="progress-bar progress-bar-striped bg-success" role="progressbar" [style.width.%]="progress">
            </div>
        </div>

        <div class="form-group">
            <input type="file" (change)="uploadFile($event)">
        </div>

        <div class="form-group input-group-lg">
            <input class="form-control" placeholder="Name" formControlName="name">
        </div>

        <div class="form-group">
            <button class="btn btn-danger btn-block btn-lg">Create</button>
        </div>
    </form>
</div>
Step 5 – Import Components app.component.ts
In this step, visit the src/app directory and open app.component.ts. Then add the following code into it:
import { Component } from '@angular/core';
import { FormBuilder, FormGroup } from "@angular/forms";
import { FileUploadService } from "./file-upload.service";
import { HttpEvent, HttpEventType } from '@angular/common/http';

@Component({
  selector: 'app-root',
  templateUrl: './app.component.html',
  styleUrls: ['./app.component.css']
})

export class AppComponent {
  form: FormGroup;
  progress: number = 0;

  constructor(
    public fb: FormBuilder,
    public fileUploadService: FileUploadService
  ) {
    this.form = this.fb.group({
      name: [''],
      avatar: [null]
    })
  }

  ngOnInit() { }

  uploadFile(event) {
    const file = (event.target as HTMLInputElement).files[0];
    this.form.patchValue({
      avatar: file
    });
    this.form.get('avatar').updateValueAndValidity()
  }

  submitUser() {
    this.fileUploadService.addUser(
      this.form.value.name,
      this.form.value.avatar
    ).subscribe((event: HttpEvent<any>) => {
      switch (event.type) {
        case HttpEventType.Sent:
          console.log('Request has been made!');
          break;
        case HttpEventType.ResponseHeader:
          console.log('Response header has been received!');
          break;
        case HttpEventType.UploadProgress:
          this.progress = Math.round(event.loaded / event.total * 100);
          console.log(`Uploaded! ${this.progress}%`);
          break;
        case HttpEventType.Response:
          console.log('User successfully created!', event.body);
          setTimeout(() => {
            this.progress = 0;
          }, 1500);

      }
    })
  }

}
Step 6 – Create File Upload Services
Execute the following command on create file upload service with HttpClient run the following command to create the service:
ng generate service file-upload
Then execute the following command on terminal to start the app to check out the File upload in the browser:
ng serve --open
Then, open the src/app/file-upload.service.ts file and add the following code
inside of it:
import { Injectable } from '@angular/core';
import { Observable, throwError } from 'rxjs';
import { catchError } from 'rxjs/operators';
import { HttpErrorResponse, HttpClient } from '@angular/common/http';

@Injectable({
  providedIn: 'root'
})

export class FileUploadService {

  constructor(private http: HttpClient) { }

  addUser(name: string, profileImage: File): Observable<any> {
    var formData: any = new FormData();
    formData.append("name", name);
    formData.append("avatar", profileImage);

    return this.http.post('http://localhost:3000/upload', formData, {
      reportProgress: true,
      observe: 'events'
    }).pipe(
      catchError(this.errorMgmt)
    )
  }

  errorMgmt(error: HttpErrorResponse) {
    let errorMessage = '';
    if (error.error instanceof ErrorEvent) {
      // Get client-side error
      errorMessage = error.error.message;
    } else {
      // Get server-side error
      errorMessage = `Error Code: ${error.status}\nMessage: ${error.message}`;
    }
    console.log(errorMessage);
    return throwError(errorMessage);
  }

}
Step 7 – Create Apis To Upload Image In Directory
You can make APIs for file/image upload by using the following tutorials. And you can use it with the angular app:
Conclusion
The Angular 14 File Upload with progress bar tutorial is over; throughout this tutorial, you have learned how to upload files on the server and display upload progress using HttpEventType and FormData.