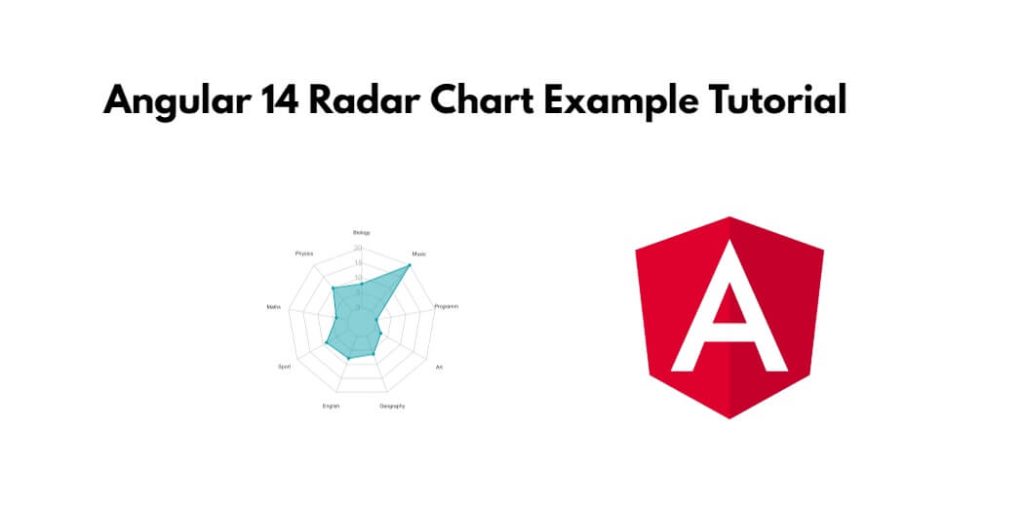
Angular 14 radar chart; In this tutorial, you will learn step by step how to create a radar charts using the charts js library in the angular 14 app.
Angular 14 Radar Chart Example Tutorial
Use the following steps to create radar chart in angular 14 apps; as follows:
- Step 1 – Create New Angular App
- Step 2 – Install Charts JS Library
- Step 3 – Import Modules in Module.ts File
- Step 4 – Create RADAR Chart in View File
- Step 5 – Import Components in Component ts File
- Step 6 – Start the Angular RADAR Chart App
Step 1 – Create New Angular App
First of all, open your terminal and execute the following command on it to install angular app:
ng new my-new-app
Step 2 – Install Charts JS Library
Then install NPM package called ng2-charts chart.js –save for implement radar chart in angular apps. So, You can install the packages by executing the following commands on the terminal:
npm install --save bootstrap

npm install ng2-charts chart.js --save
After that, open angular.json file and update the following code into it:
"styles": [
      "node_modules/bootstrap/dist/css/bootstrap.min.css",
      "src/styles.css"
]
Step 3 – Import Modules in Module.ts File
In this step, visit src/app directory and open app.module.ts file. And then add the following lines of into app.module.ts file:
import { NgModule } from '@angular/core';
import { BrowserModule } from '@angular/platform-browser';
import { FormsModule } from '@angular/forms';

import { AppComponent } from './app.component';
import { ChartsModule } from 'ng2-charts';

@NgModule({
  imports:      [ BrowserModule, FormsModule, ChartsModule ],
  declarations: [ AppComponent ],
  bootstrap:    [ AppComponent ]
})
export class AppModule { }
Step 4 – Create RADAR Chart in View File
In this step, create radar chart in angular app. So, visit src/app/ and app.component.html and update the following code into it:
<h1>Angular radar chart example - Tutsmake.com</h1>

<div style="display: block;">
  <canvas baseChart
    [datasets]="radarChartData"
    [options]="radarChartOptions"
    [labels]="radarChartLabels"
    [chartType]="radarChartType">
  </canvas>
</div>
Step 5 – Import Components in Component ts File
In this step, visit the src/app directory and open app.component.ts. Then add the following code into component.ts file:
import { Component, OnInit } from '@angular/core';
import { ChartDataSets, ChartType, RadialChartOptions } from 'chart.js';
import { Label } from 'ng2-charts';

@Component({
  selector: 'my-app',
  templateUrl: './app.component.html',
  styleUrls: [ './app.component.css' ]
})
export class AppComponent  {

  public radarChartOptions: RadialChartOptions = {
    responsive: true,
  };
  public radarChartLabels: Label[] = ['PHP', '.Net', 'Java', 'Android', 'Node.JS'];

  public radarChartData: ChartDataSets[] = [
    { data: [62, 59, 80, 81, 56], label: 'Uses' },
    { data: [30, 48, 50, 29, 80], label: 'Popular' }
  ];
  public radarChartType: ChartType = 'radar';

  constructor() { }

  ngOnInit() {
  }
}
Step 6 – Start the Angular Radar Chart App
In this step, execute the following command on terminal to start angular radar chart app:
ng serve