
It is easy to install Apache 2 and play with its services using the appropriate package manager commands on ubuntu. In this tutorial, we will show you how to install Apache 2 on Ubuntu 22.04 and manage its services such as Start, Stop, Restart, Reload, Enable, and Disable.
How to Install Apache 2 on Ubuntu 22.04
Here are some steps to install, configure, start, Stop, Restart, Reload, Enable, and Disable Apache on ubuntu 22.04:
First upgrade the system, so that all the latest dependency requirements of the Ubuntu package repository are upgraded, and there are no problems with the apache 2 installation.
sudo apt-get update
Step 1 – Install Apache2 On Ubuntu
You can type the command sudo apt install apache2 on the terminal and install it:
sudo apt-get install apache2
Step 2 – Check Apache2 Status
When the Apache 2 installation process is completed on the terminal, you can use this to check the status of the Apache 2 web server:
sudo systemctl status apache2 Output
apache2.service - The Apache HTTP Server
Loaded: loaded (/lib/systemd/system/apache2.service; enabled; vendor preset: enabled)
Drop-In: /lib/systemd/system/apache2.service.d
`-apache2-systemd.conf
Active: active (running) since Sun 2023-12-10 05:18:45 PDT; 2min 30s ago
Main PID: 3143 (apache2)
Tasks: 55 (limit: 2321)
CGroup: /system.slice/apache2.service
|-3143 /usr/sbin/apache2 -k start
|-3144 /usr/sbin/apache2 -k start
`-3145 /usr/sbin/apache2 -k startStep 3 – Firewall setup
If you want to enable HTTP (80) and HTTPS (443) ports of your Apache 2 web server, you can use sudo ufw allow ‘Apache Full’:
sudo ufw allow 'Apache Full'Verify it with the following:
sudo ufw status Output
Status: active
To Action From
-- ------ ----
22/tcp ALLOW Anywhere
Apache Full ALLOW Anywhere
22/tcp (v6) ALLOW Anywhere (v6)
Apache Full (v6) ALLOW Anywhere (v6)Step 4 – Test Install Apache2 Web Server on Ubuntu
Now if you enter the IP of your system and hit the browser, which you have installed Apache 2, you will see something like this, you can see the image.
http://your_server_ip
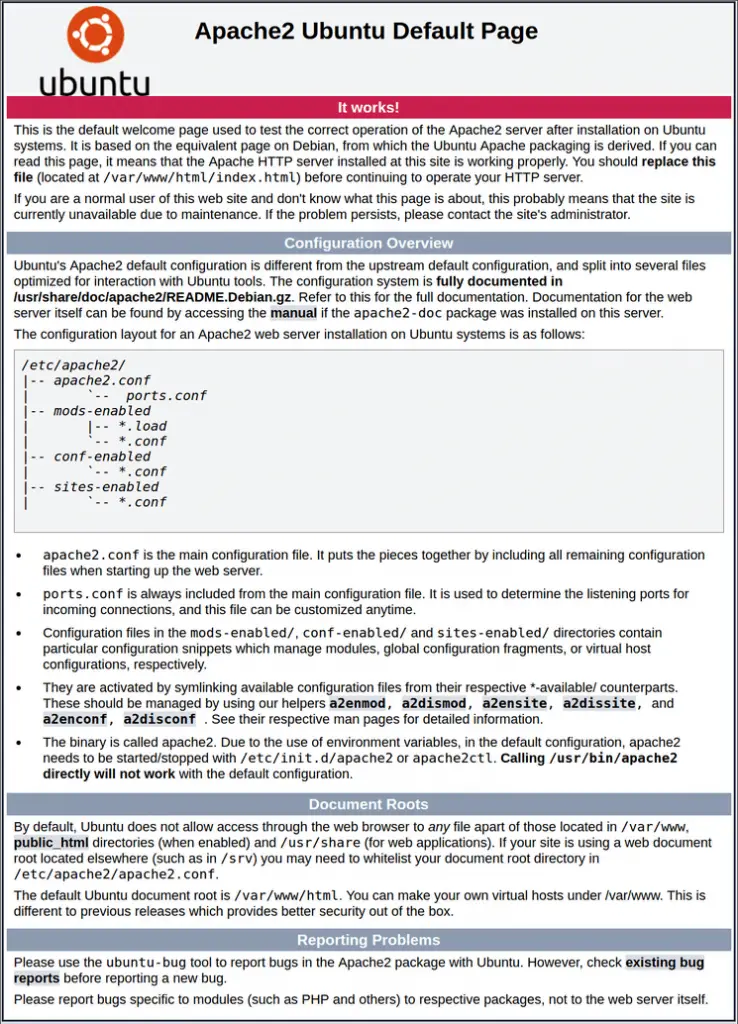
The page includes some basic information about Apache configuration files.
Step 5 – Manage the Apache2 services
If you want to use the services of your apache 2 web server to start, stop, restart, status, reload, enable and disable services, you can use these commands:
1. To Stop Apache2 service:
sudo systemctl stop apache2
2. To Start Apache2 service:
sudo systemctl start apache2
3. To Stop and then start the service again:
sudo systemctl restart apache2
4. To Reload the Apache service after you made some configuration changes :
sudo systemctl reload apache2
5. To Disable the Apache2 service:
sudo systemctl disable apache2
6. To re-enable the service to start up at boot:
sudo systemctl enable apache2
7. To Check Apache Status:
sudo systemctl status apache2
Step 6 – Apache2 configuration file
Or if you want to do any custom configuration in your Apache 2 web server, for this you have to add or remove your custom configuration code in the configuration files of Apache 2, depending on your requirement, the files are:
/etc/apache2/httpd.conf/etc/apache2/apache2.conf/etc/httpd/httpd.conf/etc/httpd/conf/httpd.conf
If you installed Apache from source it is likely located in /usr/local or /opt, though the config files may have been moved to /etc as usual. Check your build script for more details
Conclusion
You have successfully installed Apache2 and manage it’s services on your Ubuntu 22.04 server.
Recommended Tutorials
If you have any questions or thoughts to share, use the comment form below to reach us.