
To install Composer on Windows 11 or 10, go to the official website of Composer & download the composer.exe file, & double click on downloaded composer.exe, and start installing composer into the system with some instructions. To verify Composer installation, type the command composer --version on windows cmd or command prompt and press Enter.
A Composer is a dependency manager tool of php, and It helps you to install any PHP dependencies or packages in the system and update them. To use Composer, you must have PHP 5 or its above version installed in windows system.
How to Install Composer on Windows 11|10
Here are steps to install and setup composer globally in Windows 11|10 system:
Step 1: Download Composer From Official Website
As soon as you visit the official composer website, you will see something like this, where click on the download button and you will have to download the exe file of the composer:

Step 2: Double Click on Downloaded composer.exe file
Once the composer.exe file is downloaded from the official website, double-click on it, as soon as you double click, an installation prompt will open on your windows system.

Leave the default settings and click Next.
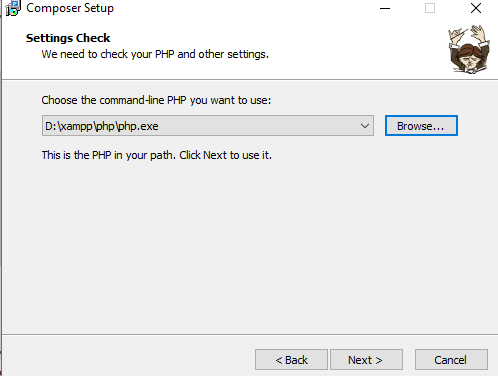
Step 3: Set PHP path For Composer
Now a prompt will open on your system, in which you have to set the path of PHP, and click on Next, As shown in the given image:
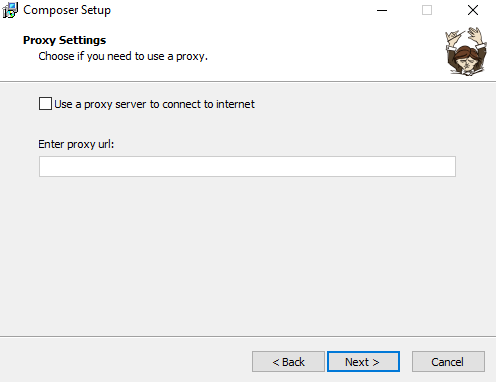
Step 4: Set Proxy
Now the prompt for proxy setting will open, in this you can set the proxy, and click on Next, as shown in the given image:
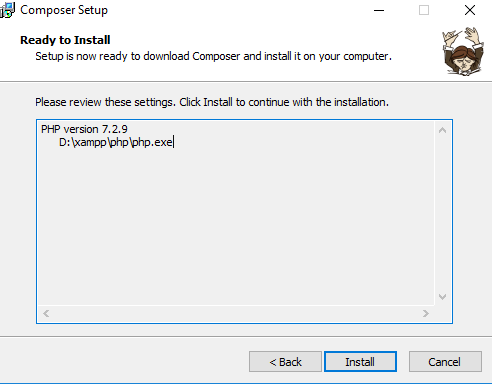
Step 5: Ready To Composer Install
Now the Composer Wizard is ready to install Composer, And in this the summary of all the settings which you have done in the previous steps is visible, To review your settings and click on next button and the installation process will start, as shown in the given image:
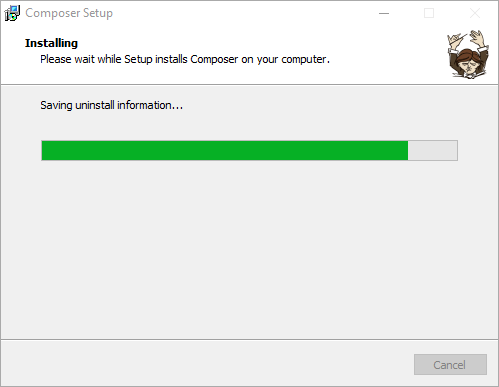
Step 6: Installation Information
Before the installation is complete, a prompt similar to the image below will open on your screen with information about the composer:
Step 7: Finish Composer Installation
Now the Composer installation is complete, a prompt will appear on your screen with a Finish button, click Finish, and you can use Composer in your system:

Step 8: Check Composer Version Windows CMD (optional)
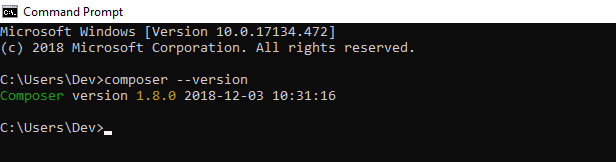
To check composer version, simply type composer --version command on windows command prompt or cmd, and press enter:
composer --version
Now on your Windows CMD or command prompt, your version of Composer should look something like this:
Conclusion
That’s it; you have learned how to install composer on windows 11|10.