Hello Developers and learner, In this laravel login with facebook tutorial, we will learn how to implement facebook login with laravel applications. In this post, We would like to share with you, facebook login with laravel version 5.8 and this example also work with laravel 5.7 & 5.6.
We will show you each things step by step an easy way. Just follow few steps and learn how to integrate Facebook social login with laravel.
We will discuss how to add facebook social login button in your laravel project and how to simple authenticate (login) users using login button in our app. Also we learn facebook register on laravel app. We would love to show you each things step by step about laravel facebook socialite.
Laravel Facebook Login Example Tutorial
- Install Laravel App
- Setup Database
- Download Socialite Pacakage
- Get secret id and secret key
- Make Route
- Create Controller & Methods
- Create Blade View
- Start Development Server
- Conclusion
Install Latest Laravel App
First of we need to download latest laravel fresh setup. Use the below command and download fresh new laravel setup :
composer create-project --prefer-dist laravel/laravel FacebookLogin
Setup Database
After successfully install laravel latest Application, Go to your project .env file and set up database credential :
  DB_CONNECTION=mysql
  DB_HOST=127.0.0.1
  DB_PORT=3306
  DB_DATABASE=here your database name here
  DB_USERNAME=here database username here
  DB_PASSWORD=here database password here
Download Socialite Pacakage
Now In this step, we will install socialite package for facebook login. You can use the below commmand and install this laravel socialite package :
composer require laravel/socialite
After successfully install socialite package, we need to configure the aliese and provider in config/app.php :
'providers' => [
      // Other service providers…
  Laravel\Socialite\SocialiteServiceProvider::class,
 ],

'aliases' => [
 // Other aliases…
 'Socialite' => Laravel\Socialite\Facades\Socialite::class,
 ],
Get secret id and secret key from facebook
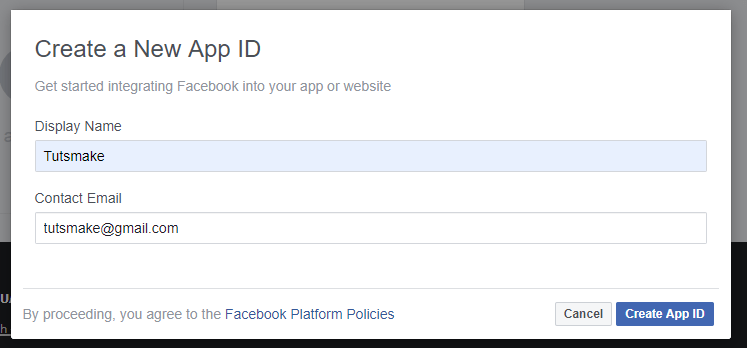
First of all We need to required CLIENT ID and CLIENT SECRET for add social facebook login button in laravel based project, Lets go to https://developers.facebook.com/apps/ and create a new app. We have put app name, email on this page for creating a app.
After create the facebook app, go to setting->advanced and set redirect url like below :

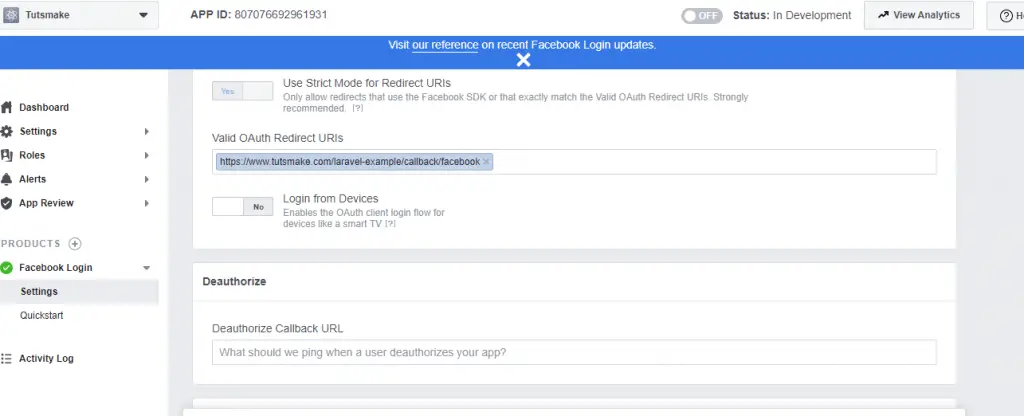
Last step, we need to set valid auth redirect url, click facebook login->setting and set valid auth redirect url.
You will go your facebook developers dashboard and copy the following App ID and App SECRET .
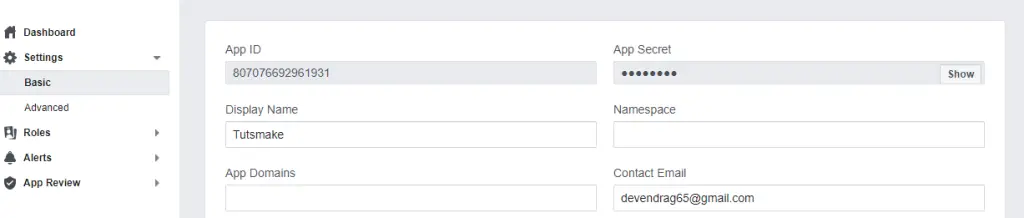
After successfully create app in facebook and get credentials from facebook develoepers dashboard, Set client id and client secret config/service.php file :
'facebook' => [
     'client_id' => 'xxxx',
     'client_secret' => 'xxx',
     'redirect' => 'https://www.tutsmake.com/laravel-example/callback/facebook',
   ],
Go to app/User.php and set fillable property put the below code here :
protected $fillable = [

         'name', 'email', 'password', 'provider', 'provider_id'

     ];
Next step, Go to app/database/create_users_table.php and put the below code here :
<?php
 use Illuminate\Support\Facades\Schema;
 use Illuminate\Database\Schema\Blueprint;
 use Illuminate\Database\Migrations\Migration;
 class CreateUsersTable extends Migration
 {
 /**
 Run the migrations.
 *
 @return void
 */
 public function up()
 {
 Schema::create('users', function (Blueprint $table) {
     $table->increments('id');
     $table->string('name');
     $table->string('email')->unique()->nullable();
     $table->string('provider');
     $table->string('provider_id');
     $table->timestamp('email_verified_at')->nullable();
     $table->string('password')->nullable();
     $table->rememberToken()->nullable();
     $table->timestamps();
 });
 }
 /**
 Reverse the migrations.
 *
 @return void
 */
 public function down()
 {
 Schema::dropIfExists('users');
 }
 }
Laravel bydefault provide us with a basic authentication system. We need to create default authencation using below command :
php artisan make:auth
Before we run php artisan migrate command go to app/providers/AppServiceProvider.php and put the below code :
…
 use Illuminate\Support\Facades\Schema;
….
 function boot()
 {
     Schema::defaultStringLength(191);
 }
 …
Next migrate the table using the below command :
php artisan migrate
Make Route
We will create two routes in web.php file. Go to app/routes/web.php file and create two below routes here :
  Route::get('/auth/redirect/{provider}', 'SocialController@redirect');
  Route::get('/callback/{provider}', 'SocialController@callback');
Create Controller
We need to create a controller name SocialController. Use the below command and create Controller.
php artisan make:controller SocialController
After successfully create controller go to app/controllers/SocialController.php and put the below code.
<?php
 namespace App\Http\Controllers;
 use Illuminate\Http\Request;
 use Validator,Redirect,Response,File;
 use Socialite;
 use App\User;
 class SocialController extends Controller
 {
 public function redirect($provider)
 {
     return Socialite::driver($provider)->redirect();
 }
 public function callback($provider)
 {
   $getInfo = Socialite::driver($provider)->user();
   $user = $this->createUser($getInfo,$provider);
   auth()->login($user);
   return redirect()->to('/home');
 }
 function createUser($getInfo,$provider){
 $user = User::where('provider_id', $getInfo->id)->first();
 if (!$user) {
      $user = User::create([
         'name'     => $getInfo->name,
         'email'    => $getInfo->email,
         'provider' => $provider,
         'provider_id' => $getInfo->id
     ]);
   }
   return $user;
 }
 }
<hr>
<div class="form-group row mb-0">
 <div class="col-md-8 offset-md-4">
    <a href="{{ url('/auth/redirect/facebook') }}" class="btn btn-primary"><i class="fa fa-facebook"></i> Facebook</a>
</div>
</div>
In Project, go to Resources/Views/Auth/login.blade.php and add a facebook social login button :
<hr>
<div class="form-group row mb-0">
 <div class="col-md-8 offset-md-4">
    <a href="{{ url('/auth/redirect/facebook') }}" class="btn btn-primary"><i class="fa fa-facebook"></i> Facebook</a>
</div>
</div>
Now we are ready to run our facebook login example so run bellow command to quick run.
If you want to remove public or public/index.php from URL In laravel, Click Me
Conclusion
In this laravel facebook social login tutorial, We have successfully add login button on our laravel based project and using facebook button. We have also implemented register code in this example and learn how to users log in with facebook in Laravel.
Rrecommended Posts
Linkedin Laravel 5.7 Login Tutorial With Live Demo
If you have any questions or thoughts to share, use the comment form below to reach us.
Nice
need register with fb
Thank you so much my friend
I want to login line on website
What do I have to do
Thankssssssssssssssssssssssssssssssssssssssssssssssssssssssssssssssssssssssssssssssssssssssssssssssssssssssssssssssssssssssssssssssssssssssssssssssssssssssssssssssssssssssssssssssssssssssssssssssssssssssssssssssssssssss
Sirrrrrrrrrrrrrrrrrrrrrrrrrrrrrrrrrrrrrrrrrrrrrrrrrrrrrrrrrrrrrrrrrrrrrrrr