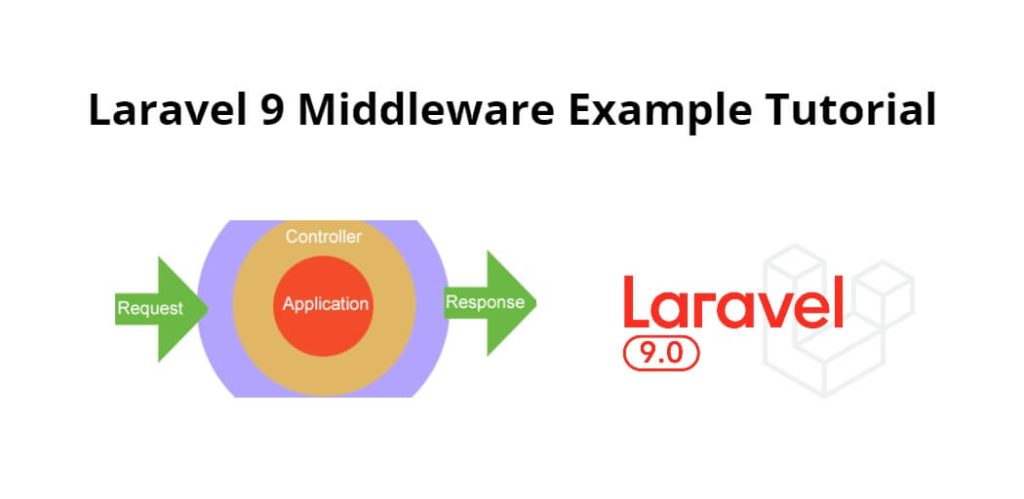
Laravel 9 middleware example; In this tutorial, we will learn how to create and use middleware in Laravel 9 apps.
How to Create Custom Middleware in Laravel 9
Follow the following steps to create and use middleware in Laravel 9 apps:
- Step 1 – Creating Middleware
- Step 2 – Registering Middleware
- Step 3 – Create Code For Middleware
- Step 4 – Using Middleware With Route
- Step 5 – Add Method in Controller
Step 1 – Creating Middleware
In this step, open the terminal and execute the following command to create custom middleware in Laravel app. So let’s open your command prompt and execute the below command on it:
php artisan make:middleware CheckStatus
Step 2 – Registering Middleware
Now, you need to register your created middleware, So visit to app/http/kernel.php and register your custom middleware; as follow:
app/Http/Kernel.php
<?php


namespace App\Http;


use Illuminate\Foundation\Http\Kernel as HttpKernel;


class Kernel extends HttpKernel
{
    ....


    /**
     * The application's route middleware.
     *
     * These middleware may be assigned to groups or used individually.
     *
     * @var array
     */
    protected $routeMiddleware = [
        ....
        'checkStatus' => \App\Http\Middleware\CheckStatus::class,
    ];
}
Step 3 – Create Code For Middleware
After successfully registering your middleware in the Laravel apps, then go to app/HTTP/middleware and create your logic code into it:
app/Http/Middleware/CheckStatus.php
<?php

namespace App\Http\Middleware;

use Closure;

class CheckStatus
{
    /**
     * Handle an incoming request.
     *
     * @param  \Illuminate\Http\Request  $request
     * @param  \Closure  $next
     * @return mixed
     */
    public function handle($request, Closure $next)
    {
        if (auth()->user()->status == 'active') {
            return $next($request);
        }
            return response()->json('Your account is inactive');

    }
}
Step 4 – Using Middleware With Route
In this step, You need to create a route and use custom middleware with routes to check http requests in your laravel apps:
use App\Http\Controllers\TestController;
use App\Http\Middleware\CheckStatus;

Route::middleware([CheckStatus::class])->group(function(){

Route::get('home', [TestController::class,'home']);

});
Step 5 – Add Method in Controller
In this step, create a controller TestController.php file by using the following command:
php artisan make:controller TestController
You can add the method name home and add this method on the TestController.php file, which is placed on app/Http/Controllers/ directory:
<?php

 namespace App\Http\Controllers;

 use Illuminate\Http\Request;
 class TestController extends Controller
 {
     public function home()
     {
         dd('You are active');
     }
 }
?>
Conclusion
Laravel 9 middleware tutorial, we have learned how to create custom middleware in laravel based project and as well as how to use it.