Laravel jetstream customizes login with username or email example. In this tutorial, you will learn how to customize jetstream login with username or email in laravel 8 app.
First of all, you will know about new jetstream auth package. In Laravel 8 adds new jetstream composer command with livewire, Inertia package for login, register, logout, reset password, forget password, email verification, two-factor authentication, session management.
In this laravel 8 auth example tutorial, we will use the jetstream and livewire package to implement default login, register, reset the password, forget password, email verification, and two-factor authentication blade views and controller file.
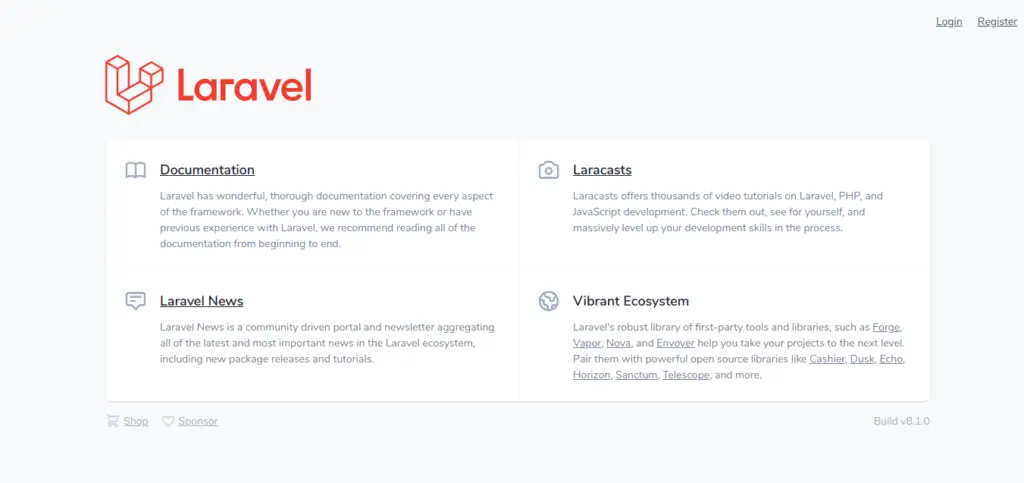
Laravel 8 Auth Scaffolding using Jetstream with Livewire will look like in following images:
Home/Welcome Page
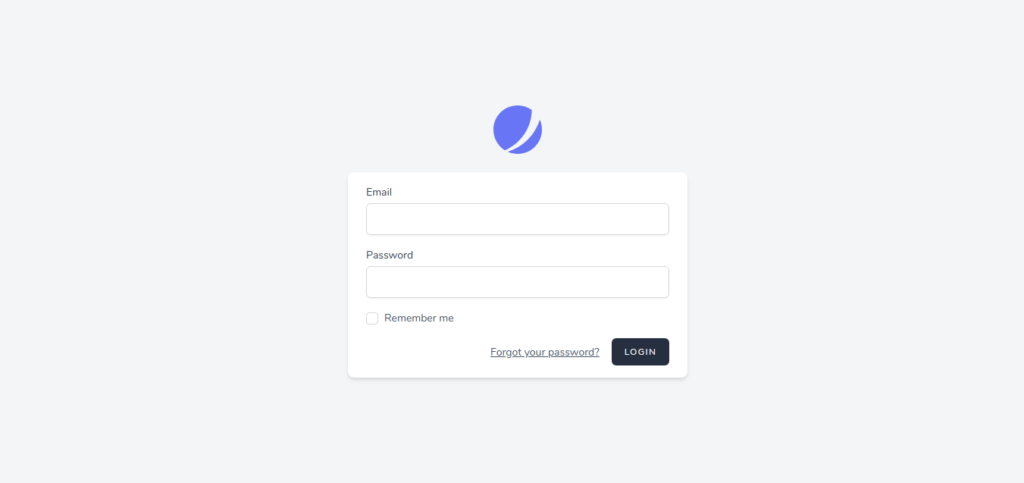
Login Page
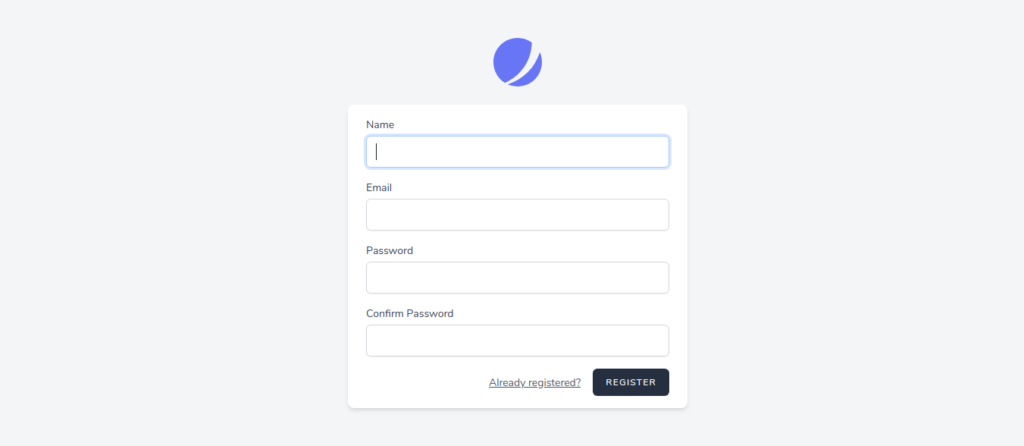
Register Page
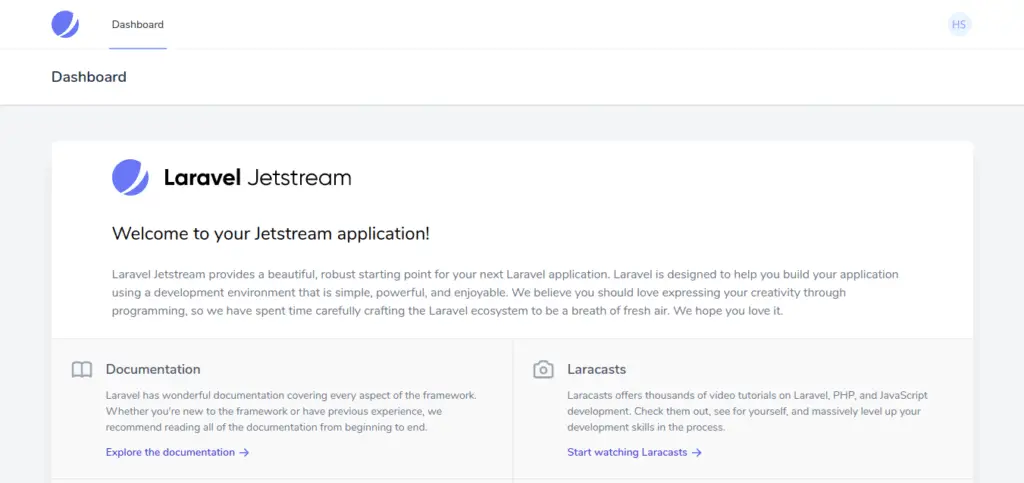
Dashboard Page
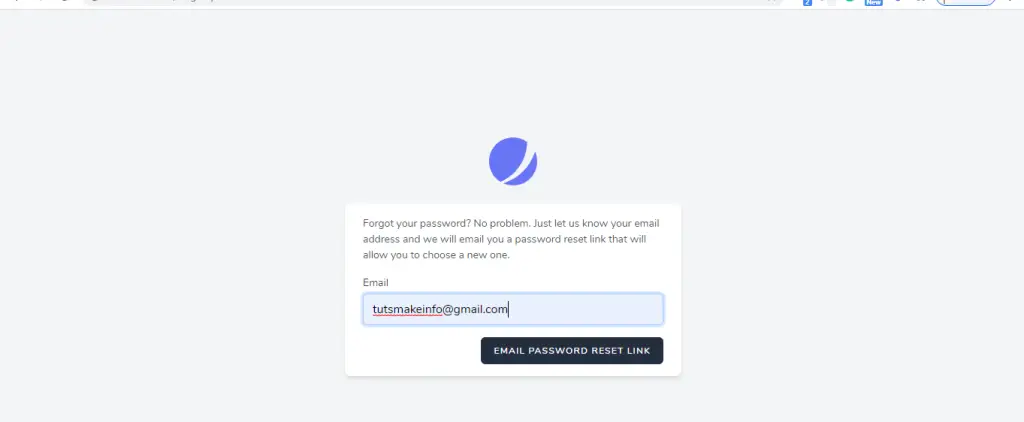
Reset Password page
Laravel 8 Jetstream Customize Login with Username or Email Example Tutorial
- Step 1 – Install Laravel 8 App
- Step 2 – Database Configuration
- Step 3 – Install Auth Scaffolding Jetstream
- Step 4 – Install Livewire Package
- Step 5 – Jetstream Configuration and Customization
- Step 6 – Run PHP artisan Migrate
- Step 7 – Install Npm Packages
- Step 8 – Run Development Server
Step 1 – Install Laravel 8 App
In step 1, open your terminal and navigate to your local web server directory using the following command:
//for windows user
cd xampp/htdocs

//for ubuntu user
cd var/www/html
Then install laravel 8 latest application using the following command:
composer create-project --prefer-dist laravel/laravel Laravel8Auth
Step 2 – Database Configuration
In step 2, open your downloaded laravel 8 app into any text editor. Then find .env file and configure database detail like following:
DB_CONNECTION=mysql
DB_HOST=127.0.0.1
DB_PORT=3306
DB_DATABASE=db name
DB_USERNAME=db user name
DB_PASSWORD=db password
Step 3 – Install Auth Scaffolding Jetstream
In step 3, install auth scaffolding jetstream package in laravel app by using the following command:
composer require laravel/jetstream
Step 4 – Install Livewire Package
Then, use the following command to create basic login, register, logout and email verification views file:
php artisan jetstream:install livewire

OR

php artisan jetstream:install livewire --teams
Note that, if you want to create team management then you have to pass addition parameter with command.
Step 5 – Jetstream Configuration and Customization
In step 5, open fortify.php file and you can enable and disable option of jetstream package according to your requirement, which is located inside config directory.
When you open it, it looks like:
'features' => [
        Features::registration(),
        Features::resetPasswords(),
        //Features::emailVerification(),
        Features::updateProfileInformation(),
        Features::updatePasswords(),
        Features::twoFactorAuthentication(),
    ],
And replace the following lines of code into fortify.php file:
'username' => 'email',

to

'username' => 'identity',
After installing laravel jetstream successfully. Now, you need to do following changes on that FortifyServiceProvider.php, So visit app/Providers directory and open FortifyServiceProvider.php file then add the following code into it:
<?php

namespace App\Providers;

use App\Actions\Fortify\CreateNewUser;
use App\Actions\Fortify\ResetUserPassword;
use App\Actions\Fortify\UpdateUserPassword;
use App\Actions\Fortify\UpdateUserProfileInformation;
use Illuminate\Support\ServiceProvider;
use Laravel\Fortify\Fortify;
use Laravel\Fortify\Http\Requests\LoginRequest;
use App\Models\User;
use Hash;

class FortifyServiceProvider extends ServiceProvider
{
    /**
     * Register any application services.
     *
     * @return void
     */
    public function register()
    {

    }
    /**
     * Bootstrap any application services.
     *
     * @return void
     */
    public function boot()
    {
        Fortify::createUsersUsing(CreateNewUser::class);
        Fortify::updateUserProfileInformationUsing(UpdateUserProfileInformation::class);
        Fortify::updateUserPasswordsUsing(UpdateUserPassword::class);
        Fortify::resetUserPasswordsUsing(ResetUserPassword::class);

        Fortify::authenticateUsing(function (LoginRequest $request) {
            $user = User::where('email', $request->identity)
                ->orWhere('username', $request->identity)->first();

            if (
                $user &&
                Hash::check($request->password, $user->password)
            ) {
                return $user;
            }
        });
    }
}
Then open login.blade.php file, which is placed resources/views/auth/ directory and add the following code into it:
<x-guest-layout>
    <x-jet-authentication-card>
        <x-slot name="logo">
            <x-jet-authentication-card-logo />
        </x-slot>

        <x-jet-validation-errors class="mb-4" />

        @if (session('status'))
            <div class="mb-4 font-medium text-sm text-green-600">
                {{ session('status') }}
            </div>
        @endif

        <form method="POST" action="{{ route('login') }}">
            @csrf

            <div>
                <x-jet-label value="{{ __('Username/Email') }}" />
                <x-jet-input class="block mt-1 w-full" type="text" name="identity" :value="old('email')" required autofocus />
            </div>

            <div class="mt-4">
                <x-jet-label value="{{ __('Password') }}" />
                <x-jet-input class="block mt-1 w-full" type="password" name="password" required autocomplete="current-password" />
            </div>

            <div class="block mt-4">
                <label class="flex items-center">
                    <input type="checkbox" class="form-checkbox" name="remember">
                    <span class="ml-2 text-sm text-gray-600">{{ __('Remember me') }}</span>
                </label>
            </div>

            <div class="flex items-center justify-end mt-4">
                @if (Route::has('password.request'))
                    <a class="underline text-sm text-gray-600 hover:text-gray-900" href="{{ route('password.request') }}">
                        {{ __('Forgot your password?') }}
                    </a>
                @endif

                <x-jet-button class="ml-4">
                    {{ __('Login') }}
                </x-jet-button>
            </div>
        </form>
    </x-jet-authentication-card>
</x-guest-layout>
Step 6 – Run php artisan Migrate
In step 6, open terminal and type the following command on it to create database table:
php artisan migrate
Step 7 – Install Npm Packages
In step 7, open again command prompt and type the following command to install node js:
npm install
Then type the following command on cmd to run npm:
npm run dev
Step 8 – Run Development Server
In step 8, use the following command to start development server:
php artisan serve
Now, open browser and hit the following url on it:
http://127.0.0.1:8000/