In this tutorial, We will demonstrate how you can upload multiple images with preview and delete. In this tutorial, we will show you live demo to upload the multiple images with preview and delete.
This jQuery plugin is very lightweight and easy to use for upload multiple image with preview and delete feature. This plugin also supports drag & drop functionality to upload multiple images.
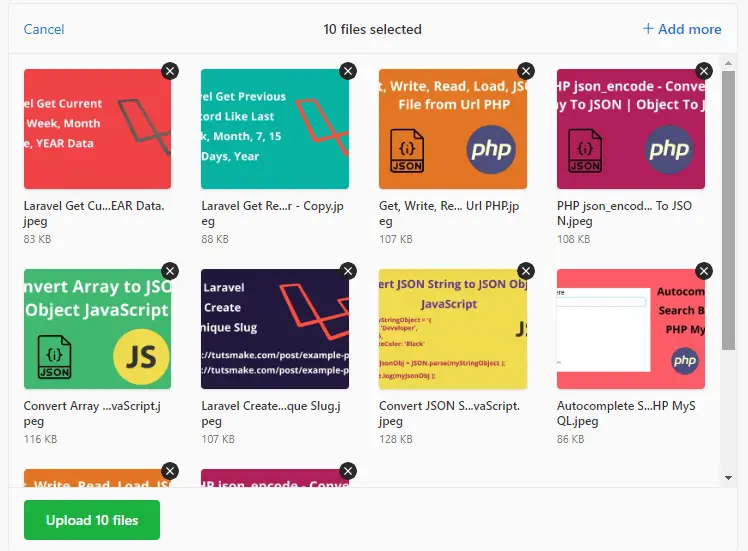
jQuery Multiple Image Upload With Preview and Delete Demo
Follow the below three steps and upload multiple images with preview and delete using the jQuery plugin:
1. Create Html File
First of all, we need to create one HTML file and put the below code into your file.
<!doctype html>
<html>
  <head>
    <meta charset="utf-8">
    <title>Multiple Image Upload with Preview and Delete jQuery Plugin</title>
  </head>
  <body>
    <div id="drag-drop-area"></div>
  </body>
</html>
2. Include jQuery and CDN libraries
Next, we need to include the jquery CDN libraries into the HTML file for uploading the multiple images with preview and delete using the jQuery plugin.
<link href="https://transloadit.edgly.net/releases/uppy/v1.6.0/uppy.min.css" rel="stylesheet">

<script src="https://transloadit.edgly.net/releases/uppy/v1.6.0/uppy.min.js"></script>
<script>
3. Full Source Code
Here this is full source code to upload multiple images with preview and delete:
<!doctype html>
<html>
  <head>
    <meta charset="utf-8">
    <title>Multiple Image Upload with Preview and Delete jQuery Plugin</title>
    <link href="https://transloadit.edgly.net/releases/uppy/v1.6.0/uppy.min.css" rel="stylesheet">
  </head>
  <body>
    <div id="drag-drop-area"></div>

    <script src="https://transloadit.edgly.net/releases/uppy/v1.6.0/uppy.min.js"></script>
    <script>
      var uppy = Uppy.Core()
        .use(Uppy.Dashboard, {
          inline: true,
          target: '#drag-drop-area'
        })
        .use(Uppy.Tus, {endpoint: 'https://master.tus.io/files/'}) //you can put upload URL here, where you want to upload images

      uppy.on('complete', (result) => {
        console.log('Upload complete! We’ve uploaded these files:', result.successful)
      })
    </script>
  </body>
</html>
Validation Rules and Optional Parameters
This jQuery multiple images upload with live preview plugin provide some important validation rules and optional parameters:
- Maxfilesize:- null | number — maximum file size in bytes for each individual file (total max size has been requested, and is planned)
- maxNumberOfFiles:- null | number — total number of files that can be selected
minNumberOfFilesnull | number — minimum number of files that must be selected before the uploadallowedFileTypesnull | array of wildcardsimage/*, exact mime typesimage/jpeg, or file extensions.jpg:['image/*', '.jpg', '.jpeg', '.png', '.gif']
If you want to know more about this plugin, you can read office document here
You may like jQuery tutorials
- jQuery AJAX Form Submit PHP MySQL
- jQuery – Remove All Unwanted Whitespace From String
- Get the Current Page URL in jQuery
- jQuery Form Validation Custom Error Message
- jQuery Ajax Post DATA Example
- Get radio button value jquery by id, name, class
- jQuery scrolltop animate example
- jQuery – Remove Elements From array jQuery
- Array to Comma Separated String jQuery