In this tutorial, you will learn how to create a multi-step reactive form in Angular 16 using We’ll use Angular’s built-in FormGroup and FormBuilder for creating and managing the form.
Angular 16 multiple steps form, allowing users to navigate through each step using a Next and Previous button.
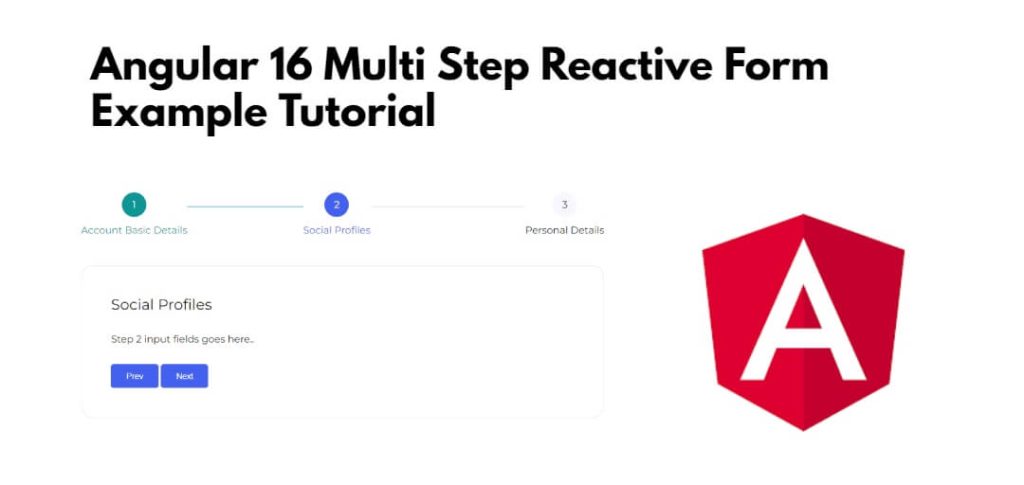
Angular 16 Multi Step Reactive Form Example Tutorial
Stesp to create multi step form wizard with next and previous button in angular 16 forms:
- Step 1 – Create a New Angular Application
- Step 2 – Install Material Design Library
- Step 3 – Import Modules in Module.ts File
- Step 4 – Create Multi Step Form Wizard
- Step 5 – Use the Multi-Step Form Component
- Step 6 – Start the Development Server
Step 1 – Create a New Angular Application
If you haven’t already installed Angular CLI, you can do so using the following command:
ng new my-new-app
Step 2 – Install Material Design Library
Once you have created angular project into your system. Then you need to install material design.
So, You can do it by using the following command:
ng add @angular/material
Step 3 – Import Modules in Module.ts File
Once you have done the above given steps, you need to visit src/app directory and open app.module.ts file. And then add the following lines of into app.module.ts file:
import { BrowserModule } from '@angular/platform-browser';
import { NgModule } from '@angular/core';

import { AppComponent } from './app.component';
import { BrowserAnimationsModule } from '@angular/platform-browser/animations';
import {FormsModule, ReactiveFormsModule} from '@angular/forms';
import {MatStepperModule} from '@angular/material/stepper';
import {MatInputModule} from '@angular/material/input';
import {MatButtonModule} from '@angular/material/button';
import {MatListModule} from '@angular/material/list';

@NgModule({
  declarations: [
    AppComponent
  ],
  imports: [
    BrowserModule,
    BrowserAnimationsModule,
    MatStepperModule,
    FormsModule,
    ReactiveFormsModule,
    MatInputModule,
    MatButtonModule,
    MatListModule
  ],
  providers: [],
  bootstrap: [AppComponent]
})
export class AppModule { }
Step 4 – Create Multi Step Form Wizard
Next, you need to implement multi step form wizard in the angular apps. So, visit src/app/ and app.component.html and update the following code into it:
<h1>Angular Multi Step Form Example - Tutsmake.com</h1>

<h3>Create Product</h3>

<mat-horizontal-stepper [linear]="isLinear" #stepper>
  <mat-step [stepControl]="firstFormGroup">
    <form [formGroup]="firstFormGroup">
      <ng-template matStepLabel>Basic Details</ng-template>
      <mat-form-field>
        <mat-label>Name</mat-label>
        <input matInput placeholder="Name" formControlName="name" required>
      </mat-form-field>
      <br/>
      <mat-form-field>
        <mat-label>Description</mat-label>
        <textarea matInput placeholder="Description" formControlName="description" required>
        </textarea>
      </mat-form-field>
      <div>
        <button mat-button matStepperNext>Next</button>
      </div>
    </form>
  </mat-step>
  <mat-step [stepControl]="secondFormGroup">
    <form [formGroup]="secondFormGroup">
      <ng-template matStepLabel>Amount & Stock</ng-template>
      <mat-form-field>
        <mat-label>Amount</mat-label>
        <input matInput placeholder="Amount" formControlName="amount" required>
      </mat-form-field>
      <br/>
      <mat-form-field>
        <mat-label>Stock</mat-label>
        <input matInput placeholder="Stock" formControlName="stock" required>
      </mat-form-field>
      <br/>
      <div>
        <button mat-button matStepperPrevious>Back</button>
        <button mat-button matStepperNext>Next</button>
      </div>
    </form>
  </mat-step>
  <mat-step>
    <ng-template matStepLabel>Done</ng-template>
    <p>You are now done.</p>

    <mat-list>
	 <mat-list-item> <strong>Name:</strong> {{ this.firstFormGroup.value.name }}</mat-list-item>
	 <mat-list-item> <strong>Description:</strong> {{ this.firstFormGroup.value.description }}</mat-list-item>


	 <mat-list-item> <strong>Amount:</strong> {{ this.secondFormGroup.value.amount }}</mat-list-item>


	 <mat-list-item> <strong>Stock:</strong> {{ this.secondFormGroup.value.stock }}</mat-list-item>
	</mat-list>

    <div>
      <button mat-button matStepperPrevious>Back</button>
      <button mat-button (click)="stepper.reset()">Reset</button>
      <button mat-button (click)="submit()">Submit</button>
    </div>
  </mat-step>
</mat-horizontal-stepper>
Step 5 – Use the Multi-Step Form Component
In this step, visit the src/app directory and open app.component.ts. Then add the following code into component.ts file:
import { Component } from '@angular/core';
import {FormBuilder, FormGroup, Validators} from '@angular/forms';

@Component({
  selector: 'app-root',
  templateUrl: './app.component.html',
  styleUrls: ['./app.component.css']
})
export class AppComponent {
  title = 'newMat';

  isLinear = true;
  firstFormGroup: FormGroup;
  secondFormGroup: FormGroup;

  constructor(private _formBuilder: FormBuilder) {}

  ngOnInit() {
    this.firstFormGroup = this._formBuilder.group({
      name: ['', Validators.required],
      description: ['', Validators.required]
    });
    this.secondFormGroup = this._formBuilder.group({
      amount: ['', Validators.required],
      stock: ['', Validators.required]
    });
  }

  submit(){
      console.log(this.firstFormGroup.value);
      console.log(this.secondFormGroup.value);
  }
}
Step 6 – Start the Development Server
Run your Angular application to see the multi-step reactive form in action:
ng serve
Visit http://localhost:4200 in your web browser to use the multi-step form.
Conclusion
That’s it! You’ve created a multi-step reactive form in Angular 16. You can further enhance it with validation, error handling, and additional form fields as needed.