In PHP, the isset() function is used to determine whether a variable has been initialized or set or not. This function returns true if the variable exists and is not null, and false otherwise. The isset() function can be very useful when working with forms, as it allows you to check if a form field has been submitted or not.
In this tutorial, you will learn how to use isset() for submitting a form in PHP with the $_Post() method.
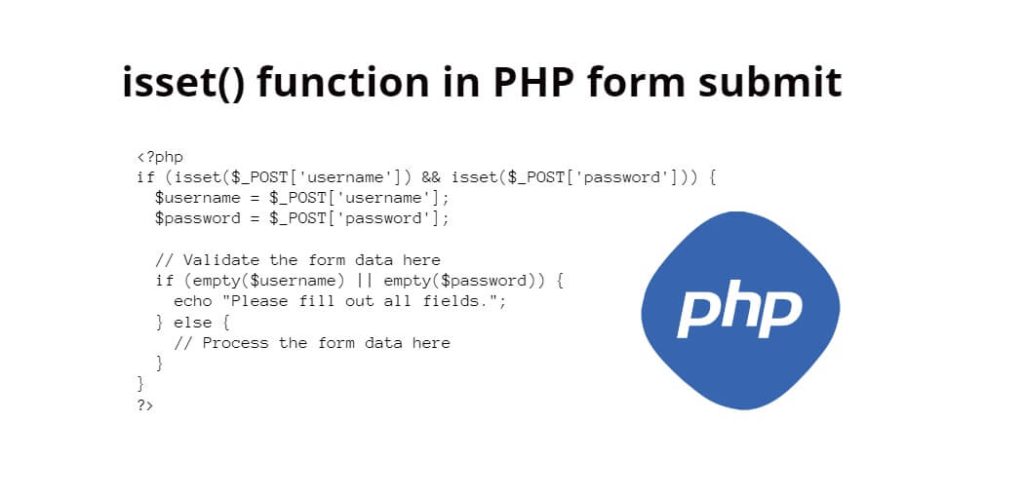
isset() function in PHP form submit
By following the steps outlined in this tutorial, you can create a form that collects data from the user, validates it, and displays feedback to let them know that their data has been processed.
- Step 1: Create the HTML form
- Step 2: Create the PHP script
- Step 3: Add validation
- Step 4: Display feedback
Step 1: Create the HTML form
The first step in using isset() is to create an HTML form. Here’s an example:
<form method="post" action="process.php">
  <label for="username">Username:</label>
  <input type="text" id="username" name="username">

  <label for="password">Password:</label>
  <input type="password" id="password" name="password">

  <input type="submit" value="Submit">
</form>
In the above code, create a simple form that collects a username and password from the user.
Step 2: Create the PHP script
Next, you need to create the PHP script that will process the form data. Here’s an example:
<?php
if (isset($_POST['username']) && isset($_POST['password'])) {
  $username = $_POST['username'];
  $password = $_POST['password'];

  // Process the form data here
}
?>
In the above code, using the isset() function to check if the username and password fields have been set. If they have been set, then assign the values of those fields to variables that we can use to process the form data.
Step 3: Add validation
Now that you have our PHP script set up, we can add validation to ensure that the data being submitted is valid. Here’s an example:
<?php
if (isset($_POST['username']) && isset($_POST['password'])) {
  $username = $_POST['username'];
  $password = $_POST['password'];

  // Validate the form data here
  if (empty($username) || empty($password)) {
    echo "Please fill out all fields.";
  } else {
    // Process the form data here
  }
}
?>
In the above code, using the empty() function to check if the username and password fields are empty. If either field is empty. To display an error message asking the user to fill out all fields. If both fields have a value, and can process the form data.
Step 4: Display feedback
Finally, you can display feedback to the user to let them know that their data has been processed. Here’s an example:
<?php
if (isset($_POST['username']) && isset($_POST['password'])) {
  $username = $_POST['username'];
  $password = $_POST['password'];

  // Validate the form data here
  if (empty($username) || empty($password)) {
    echo "Please fill out all fields.";
  } else {
    // Process the form data here
    echo "Thank you for submitting your information.";
  }
}
?>
In the above code, using the echo statement to display feedback to the user after the form data has been processed.
Conclusion
Using the isset() function in PHP forms is a simple and effective way to ensure that the data being submitted is valid and secure. By following the steps outlined in this tutorial, you can create a form that collects data from the user, validates it, and displays feedback to let them know that their data has been processed.