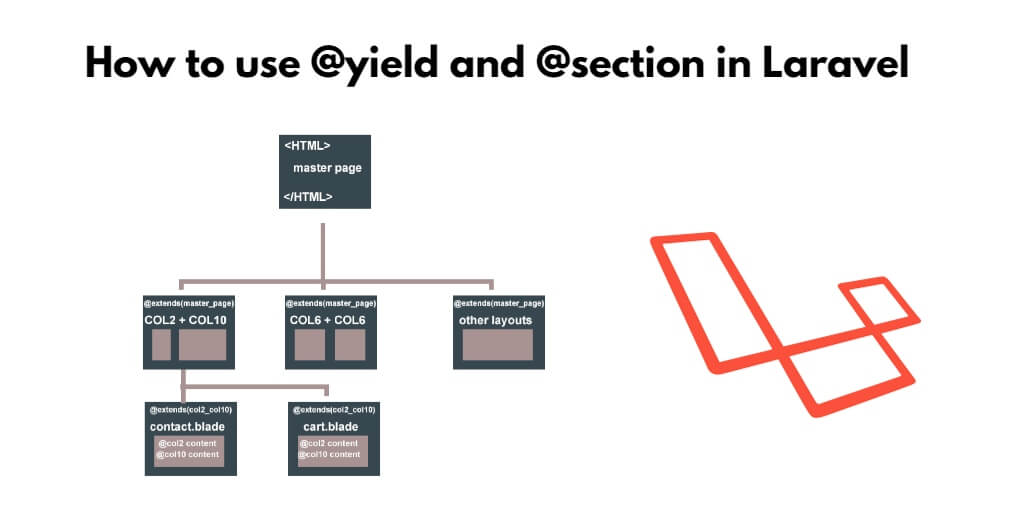
In Laravel, there are @section and @yield directives. @section defines a section of content, while @yield displays the contents of a given section. You can use @yield to define a section in the layout and bring content from the child page to the master page. You can use @Section to use master and child data together on a child page.
In this tutorial guide, you will learn how to use @yield and @section directives to build modular and reusable views in laravel apps.
How to use @yield(‘content’) and @section(‘content’) in Laravel
You can use @yield, and @section to overwrite when you expand a blade’s template. Here are syntax and examples of @yield, and @section to overwrite when you expand a blade’s template.
- Understanding @yield
- Defining the @yield(‘content’)
- Injecting content
- Utilizing @section
- Defining @section(‘content’)
- Injecting sections
Understanding @yield
The ‘@yield’ directive allows you to define a placeholder in your layout file where content from other views can be injected dynamically. Here’s how you can use it:
Defining the @yield(‘content’)
In your layout file (e.g., layout.blade.php), use the ‘@yield’ directive to designate a specific area for content injection. For example:
<html>
    <head>
        <!-- Head content -->
    </head>
    <body>
        @yield('content')
    </body>
</html>
Injecting content
In your view file, use the ‘@section’ directive along with the corresponding yield name to provide the content that should be rendered within the placeholder. For example:
@extends('layout')
@section('content')
    <!-- Content goes here -->
@endsection
Utilizing @section
The ‘@section’ directive allows you to define named sections within your view files, which can then be injected into the layout using ‘@yield’. Here’s how you can leverage this powerful directive:
Defining @section(‘content’)
In your view file, use the ‘@section’ directive to define a named section along with the content that should be rendered within it. For example:
@section('sidebar')
    <!-- Sidebar content -->
@endsection
Injecting sections
In your layout file, use the ‘@yield’ directive along with the section name to specify where the content of that section should be injected. For example:
<html>
    <head>
        <!-- Head content -->
    </head>
    <body>
        @yield('content')
        @yield('sidebar')
    </body>
</html>
Conclusion
By learning the use of ‘@yield’ and ‘@section’ directives in Laravel, you can overcome repetitive code in the view, layout, and content organization of your application. Understanding these directives enables you to create modular, reusable views that enhance code maintainability and increase development efficiency.
