User Activity log laravel 8 example. In this tutorial, you will learn how to create user activity log in laravel 8 app. As well as how to delete user activity log in laravel 8 app.
This tutorial will help you step by step to create user activity log in laravel 8 app using haruncpi/laravel-user-activity log package.
First of all, you know about boostrap ui and auth package. In the Laravel 8 adds boostrap ui and auth package for login, register, logout, reset password, forget password, email verification, two-factor authentication, session management.
In this laravel 8 bootstrap auth example tutorial, we will use the laravel Ui and BOOTSTRAP Auth to implement default login, register, reset the password, forget password, email verification, and two-factor authentication blade views and controller file.
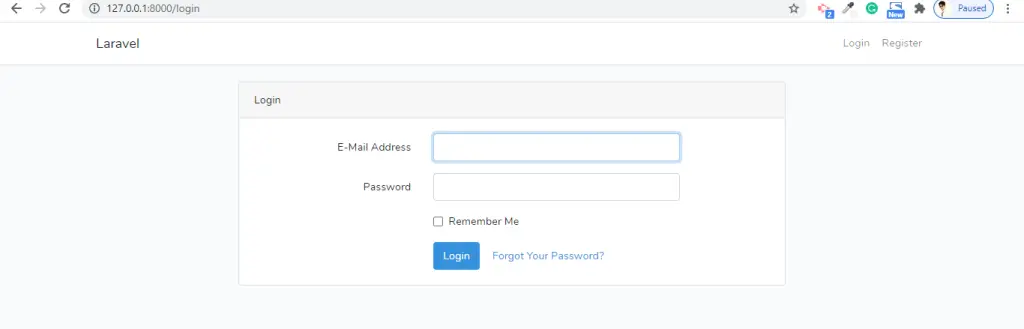
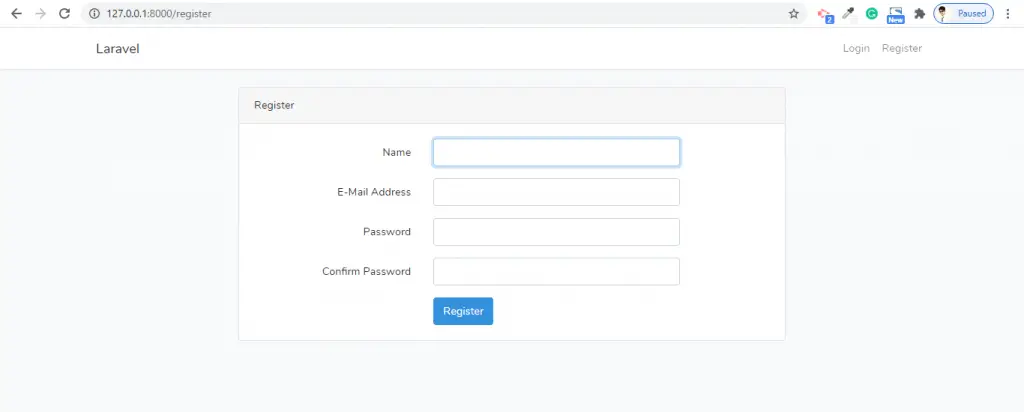
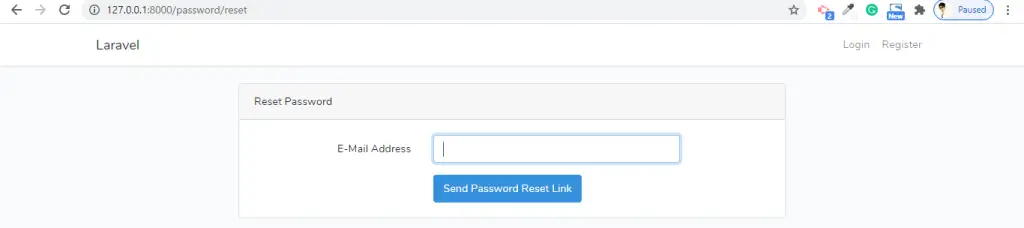
Laravel 8 Auth Scaffolding using laravel ui with boostrap auth will look like in following images:
Home/Welcome Page

Login Page
Register Page
Reset Password page
User Activity Log Laravel 8
- Step 1 – Install Laravel 8 App
- Step 2 – Database Configuration
- Step 3 – Install Laravel UI
- Step 4 – Install Bootstrap Auth Scaffolding
- Step 5 – Install Npm Packages
- Step 6 – Install And Configure User Activity Log Package
- Step 7 – Run PHP artisan Migrate
- Step 8 – Run Development Server
- Step 9 – Test This App
Step 1 – Install Laravel 8 App
In step 1, open your terminal and navigate to your local web server directory using the following command:
//for windows user
cd xampp/htdocs

//for ubuntu user
cd var/www/html
Then install laravel 8 latest application using the following command:
composer create-project --prefer-dist laravel/laravel Blog
Step 2 – Database Configuration
In step 2, open your downloaded laravel 8 app into any text editor. Then find .env file and configure database detail like following:
DB_CONNECTION=mysql
DB_HOST=127.0.0.1
DB_PORT=3306
DB_DATABASE=db name
DB_USERNAME=db user name
DB_PASSWORD=db password
Step 3 – Install Laravel UI
In step 3, install LARAVEL ui package in laravel app by using the following command:
composer require laravel/ui
Step 4 – Install Bootstrap Auth Scaffolding
In step 4, install auth scaffolding bootstrap package in laravel app by using the following command:
php artisan ui bootstrap --auth
Step 5 – Install Npm Packages
In step 5, open again command prompt and type the following command to install node js:
npm install
Then type the following command on cmd to run npm:
npm run dev
Step 6 – Install And Configure User Activity Log Package
In this step, open terminal and execute the following command to install user activity log package:
composer require haruncpi/laravel-user-activity

php artisan user-activity:install
After that, visit app/models directory and open user.php model and add the following line of code into it:
<?php

namespace App\Models;

use Illuminate\Contracts\Auth\MustVerifyEmail;
use Illuminate\Database\Eloquent\Factories\HasFactory;
use Illuminate\Foundation\Auth\User as Authenticatable;
use Illuminate\Notifications\Notifiable;
use Laravel\Fortify\TwoFactorAuthenticatable;
use Laravel\Jetstream\HasProfilePhoto;
use Laravel\Sanctum\HasApiTokens;
use Haruncpi\LaravelUserActivity\Traits\Loggable;

class User extends Authenticatable
{
    use HasApiTokens;
    use HasFactory;
    use HasProfilePhoto;
    use Notifiable;
    use TwoFactorAuthenticatable;
     use Loggable;

    /**
     * The attributes that are mass assignable.
     *
     * @var array
     */
    protected $fillable = [
        'name',
        'email',
        'password',
    ];

    /**
     * The attributes that should be hidden for arrays.
     *
     * @var array
     */
    protected $hidden = [
        'password',
        'remember_token',
        'two_factor_recovery_codes',
        'two_factor_secret',
    ];

    /**
     * The attributes that should be cast to native types.
     *
     * @var array
     */
    protected $casts = [
        'email_verified_at' => 'datetime',
    ];

    /**
     * The accessors to append to the model's array form.
     *
     * @var array
     */
    protected $appends = [
        'profile_photo_url',
    ];
}
Step 7 – Run php artisan Migrate
In step 7, open terminal and type the following command on it to create database table:
php artisan migrate
Step 8 – Run Development Server
In step 8, use the following command to start development server:
php artisan serve
Step 9 – Test This App
Now, open browser and hit the following url on it:
http://127.0.0.1:8000/
If you want to check user activity log, you can hit the following url on browser:
http://example.com/admin/user-activity
Note that, you can also delete user activity log by executing the following command on terminal:
//for 7 days
php artisan user-activity:delete

//for 30 days
php artisan user-activity:delete 30

//for all days
php artisan user-activity:delete all