Laravel Telescope is a powerful debugging and introspection tool provided by the Laravel framework. It is designed to help developers easily monitor and debug their applications during the development process. With Telescope, you gain valuable insights into the internal workings of your Laravel application, allowing you to identify and resolve issues quickly.
So, In this tutorial, you will learn how to install and use a telescope in Laravel 10 apps.
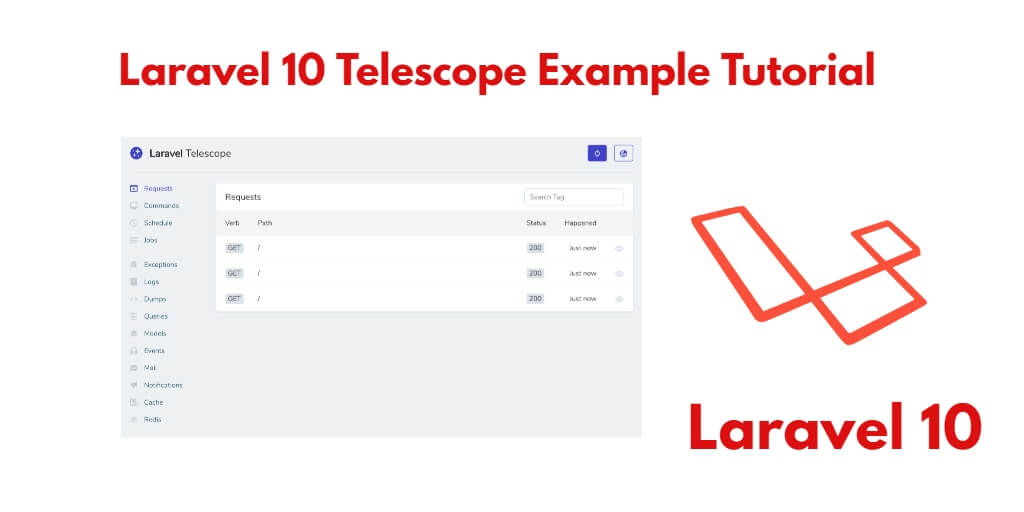
Laravel 10 Telescope Example Tutorial
Follow the below givens simple steps to install, configure and use telescope in Laravel 10:
- Step 1 – Install Telescope
- Step 2 – Execute Migration Command
- Step 3 – Configure Telescope
- Step 4 – Configure Dashboard Authorization
- Step 5 – Start Development Server
- Step 6 – Test Laravel Telescope App
Step 1 – Install Telescope
In this step, open command prompt and navigate to your Laravel 10 app by using this command:
cd /project folder name
And run the following command to install telescope in Laravel 10 app:
composer require laravel/telescope
If you want to use telescope in local environment, so you can use the below command:
composer require laravel/telescope --dev
Step 2 – Execute Migration Command
In this step, run the following commands on command prompt to migrate tables into database:
php artisan telescope:install

php artisan migrate
Step 3 – Configure Telescope
In this step, an open app.php file, which is located inside the config directory. And configure telescope providers in Laravel 10 app:
App\Providers\TelescopeServiceProvider::class,
After that, open AppServiceProvider.php file, which is located inside app/providers directory and add the following lines of code into register() method:
public function register()
{
    if ($this->app->isLocal()) {
        $this->app->register(\Laravel\Telescope\TelescopeServiceProvider::class);
        $this->app->register(TelescopeServiceProvider::class);
    }
}
Step 4 – Configure Dashboard Authorization
In this step, Telescope exposes a dashboard at /telescope. By default, you will only be able to access this dashboard in the local environment. Within your app/Providers/TelescopeServiceProvider.php file, there is a gate method. This authorization gate controls access to Telescope in non-local environments. You are free to modify this gate as needed to restrict access to your Telescope installation:
protected function gate()
{
    Gate::define('viewTelescope', function ($user) {
        return in_array($user->email, [
            '[email protected]',
        ]);
    });
}
Step 5 – Start Development Server
In this step, run the following command on command prompt to start developement server:
php artisan serve
Step 6 – Test Laravel Telescope App
Now, open your browser and use the following command to test Laravel 10 telescope:
http://127.0.0.1:8000/telescope