Laravel 9 autocomplete search using Typehead JS from MySQL database; In this tutorial, we will learn how to implement autocomplete search with Database in laravel 9 app with jquery typeahead js with ajax.
Typehead js is a flexible JavaScript library that provides a strong foundation for building robust typeahead. The typeahead. js library consists of 2 components: the suggestion engine, Bloodhound, and the UI view, Typeahead. The suggestion engine is responsible for computing suggestions for a given query.
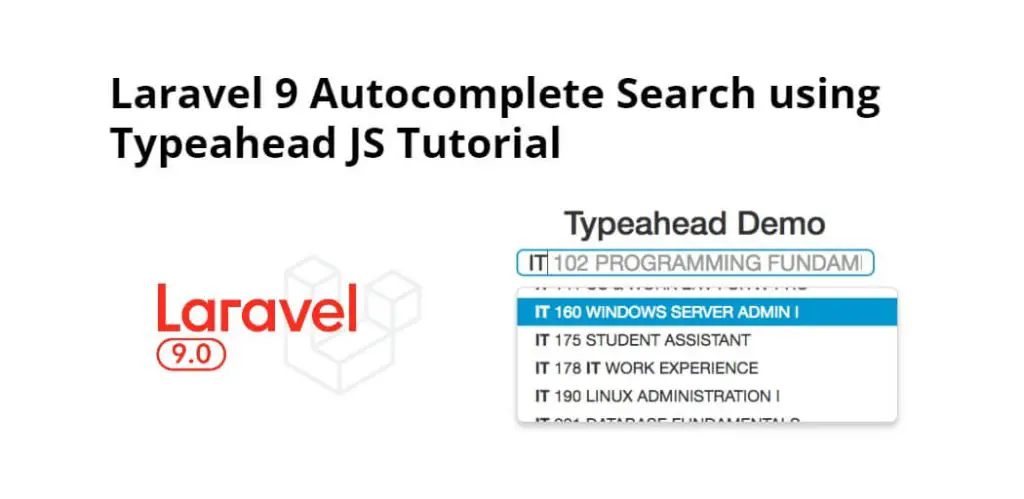
Laravel 9 Autocomplete Search using Typeahead JS Tutorial
Follow the following steps to implement autocomplete search from database using typehead js with ajax in laravel 9 apps:
- Step 1 – Install Laravel 9 App
- Step 2 – Connecting App to Database
- Step 3 – Generate Fake Records
- Step 4 – Add Routes
- Step 5 – Create Controller & Methods
- Step 6 – Create Blade View
- Step 7 – Start Development Server
- Step 8 – Test This App
Step 1 – Install Laravel 9 App
Now, execute the following command on terminal to download laravel 9 app:
composer create-project --prefer-dist laravel/laravel blog
Step 2 – Connecting App to Database
After successfully installing laravel application. Then Go to your project .env file and set up database credential and move next step :
 DB_CONNECTION=mysql
 DB_HOST=127.0.0.1
 DB_PORT=3306
 DB_DATABASE=here your database name here
 DB_USERNAME=here database username here
 DB_PASSWORD=here database password here
Step 3 – Generate Fake Records
Before adding fake records to the database first migrate the table in the database using the below command :
php artisan migrate
Add fake records in our database. use the below command and add 100 fake records to the database :
php artisan tinker

factory(App\User::class, 100)->create();
Step 4 – Add Routes
Now create two routes one for show search input box and the second for autocompleting search using jquery typeahead js autocomplete method :
use App\Http\Controllers\AutoCompleteController;

Route::get('search', [AutoCompleteController::class, 'index']);
Route::get('autocomplete', [AutoCompleteController::class, 'search']);
Step 5 – Create Controller & Methods
Execute the following command on the terminal to create a controller name AutoCompleteController.php file:
php artisan make:controller AutoCompleteController
After successfully creating the controller go to app/controllers/AutoCompleteController.php and put the below code :
<?php

namespace App\Http\Controllers;

use Illuminate\Http\Request;
use App\User;

class AutoCompleteController extends Controller
{

    public function index()
    {
        return view('search');
    }

    public function search(Request $request)
    {
          $search = $request->get('term');

          $result = User::where('name', 'LIKE', '%'. $search. '%')->get();

          return response()->json($result);

    }
}
Step 6 – Create Blade View
In this step, create a blade view file. Go to app/resources/views and create one file name search.blade.php.
After creating blade file put the below HTML code here with typehead js and CSS library file :
<!DOCTYPE html>
<html>
<head>
  <meta charset="UTF-8">
  <meta name="viewport" content="width=device-width, initial-scale=1.0">
  <meta http-equiv="X-UA-Compatible" content="ie=edge">
  <meta name="csrf-token" content="{{ csrf_token() }}">
  <title>Autocomplete Search Using Typeahead JS - Tutsmake.com</title>
  <link rel="stylesheet" href="https://cdnjs.cloudflare.com/ajax/libs/twitter-bootstrap/4.1.3/css/bootstrap.min.css" />
  <script src="//ajax.googleapis.com/ajax/libs/jquery/1.9.1/jquery.js"></script>
  <script src="https://cdnjs.cloudflare.com/ajax/libs/bootstrap-3-typeahead/4.0.1/bootstrap3-typeahead.min.js"></script>
 <style>
    .container{
    padding: 10%;
    text-align: center;
   }
 </style>
</head>
<body>

<div class="container">
    <div class="row">
        <div class="col-12"><h2>Laravel AutoComplete Search Using Typeahead JS</h2></div>
        <div class="col-12">
            <div id="custom-search-input">
                <div class="input-group">
                    <input id="search" name="search" type="text" class="form-control" placeholder="Search" />
                </div>
            </div>
        </div>
    </div>
</div>

<script type="text/javascript">
    var route = "{{ url('autocomplete') }}";
    $('#search').typeahead({
        source:  function (term, process) {
        return $.get(route, { term: term }, function (data) {
                return process(data);
            });
        }
    });
</script>

</body>
</html>
And put some script code in the search.blade.php file. The script code will work to search data from the database and return data to our view file this ajax method is full-field over autocomplete search example.
Step 7 – Start Development Server
Execute the following command on terminal to start the development server:
 php artisan serve

 If you want to run the project diffrent port so use this below command

 php artisan serve --port=8080
Step 8 – Test This App
Open browser and hit the following URL on it:
Http://localhost:8000/search
Conclusion
In this tutorial, we have learned successfully how to implement autocomplete search in laravel 9 application using typeahead js. our examples run quickly.
Recommended Laravel Tutorials
If you have any questions or thoughts to share, use the comment form below to reach us.