To create and use a service in Angular 17; Simply run the ng g s services/service_name command to create a service file and use the httpClient module to consume the Web RESTful API in it, and then use the service class methods with the main TypeScript file to call the REST Web API in angular 17 applications.
Service in Angular is a class-type mechanism in which a code or logic can be implemented and used to execute a specific task.
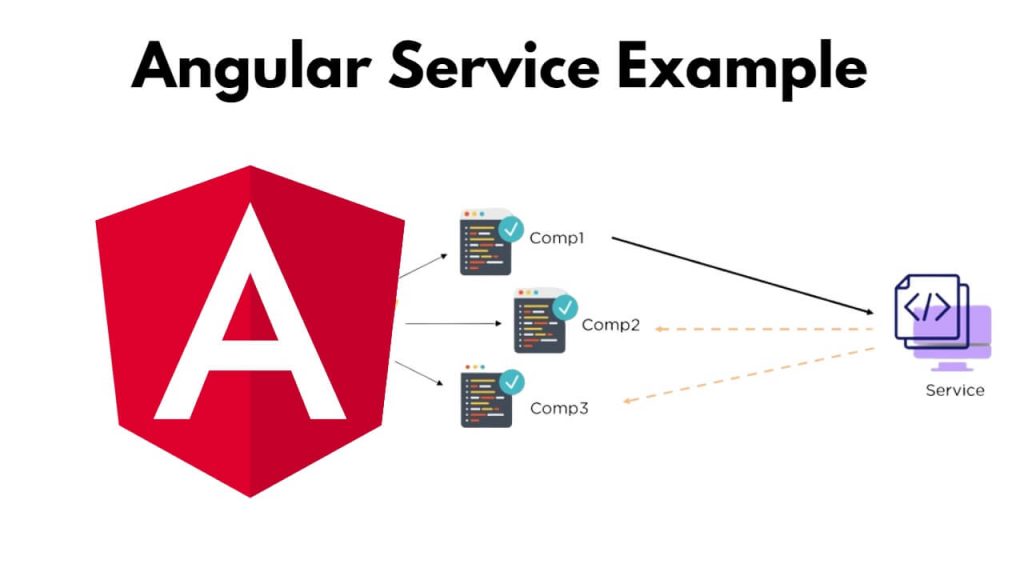
Angular Service Example
Steps to create and use a service in Angular 17 with httpClient module:
Step 1: Set Up New Angular Project
Open your cmd or command prompt and run the ng new myServiceProject command into it to install and create a new Angular project using the CLI:
ng new myServiceProject --no-standalone
cd myServiceProject
Step 2: Import HttpClientModule
Navigate to src/app folder and open the app.module.ts file and import HttpClientModule into it like the following:
import { BrowserModule } from '@angular/platform-browser';
import { NgModule } from '@angular/core';

import { AppComponent } from './app.component';
import { HttpClientModule } from '@angular/common/http';

@NgModule({
  declarations: [
    AppComponent
  ],
  imports: [
    BrowserModule,
    HttpClientModule
  ],
  providers: [],
  bootstrap: [AppComponent]
})
export class AppModule { }
Step 3: Create a Service
To create service in your angular; Just type ng g s services/post command on cmd or terminal window and press enter:
ng g s services/post
Create methods into it to consume web rest apis using httpClient module, Simply navigate src/app/services/ folder and open post.service.ts file and create it like the following:
import { Injectable } from '@angular/core';
import { HttpClient } from '@angular/common/http';

@Injectable({
  providedIn: 'root'
})
export class PostService {
  private url = 'http://jsonplaceholder.typicode.com/posts';

  constructor(private httpClient: HttpClient) { }

  getPosts(){
    return this.httpClient.get(this.url);
  }

}
Step 4: Inject the service into a component
To import and use services in the app.component.ts file; Just go to src/app/ directory and open app.component.ts and you can do it like this:
import { Component, OnInit } from '@angular/core';
import { PostService } from './services/post.service';

@Component({
  selector: 'app-root',
  templateUrl: './app.component.html',
  styleUrls: ['./app.component.css']
})
export class AppComponent implements OnInit {
  posts:any;

  constructor(private service:PostService) {}

  ngOnInit() {
      this.service.getPosts()
        .subscribe(response => {
          this.posts = response;
        });
  }
}
Step 5: Use the service into a component
Simply open app.component.html file and use service class into a component like following:
<h1>Angular Http Service Example - Tutsmake.com</h1>

<ul class="list-group">
  <li
      *ngFor="let post of posts"
      class="list-group-item">
      {{ post.title }}
  </li>
</ul>
Step 6: Run the application
Run ng serve the following command on the cmd to start angular project:
ng serve
Now, open your web browser and navigate to http://localhost:4200/. You should see the data fetched from the API displayed on the page.
Conclusion
That’s it! You have successfully created a service and class in it, and you can interact with API and display data on a component using service class in Angular 17 applications.