File upload min max size validation in laravel; Through this tutorial, you will learn how to validate file min and max upload size in laravel 10|9|8 apps.
Using the Laravel file validation rule class in your request validation, you can validate a file min and max size upload in Laravel 10|9|8 and the maximum & minimum allowed size is 2048 kilobytes (mb).
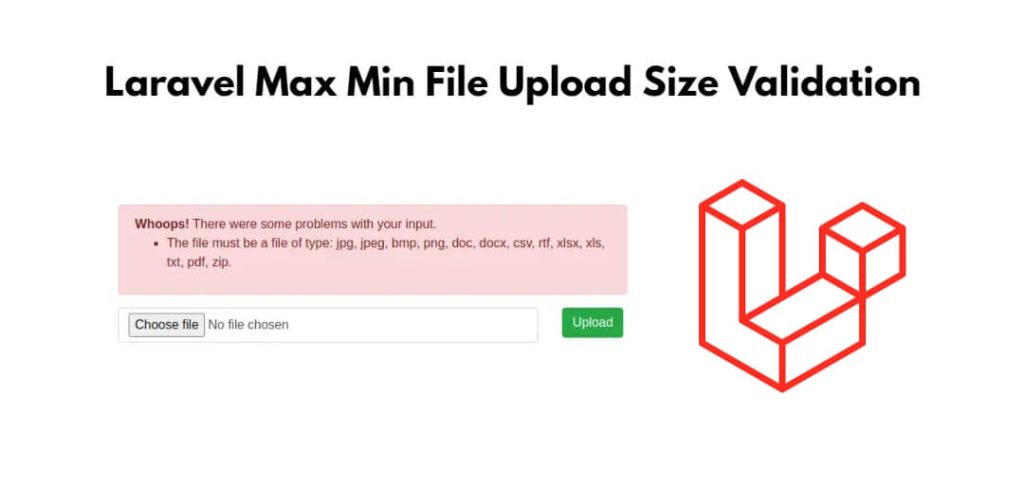
Laravel 10|9|8 File Upload Max & Min Size Validation Tutorial
Let’s get started with the min and max file upload size validation and the maximum & minimum allowed size is 2048 kilobytes (mb) in laravel 10|9|8 apps:
- Step 1: Create a Form for File Uploads
- Step 2: Create a Controller Method for File Upload
- Step 3: Define Routes
- Step 4: Create a View for Success and Errors (Optional)
- Step 5: Test the File Upload
Step 1: Create a Form for File Uploads
Firstly, you need to create a form that allows users to upload files. You can do this by creating a Blade view. Here’s an example of a simple form:
<!-- resources/views/upload.blade.php -->

<!DOCTYPE html>
<html>
<head>
    <title>File Upload</title>
</head>
<body>
    <h1>Upload a File</h1>

    <form action="{{ route('upload.file') }}" method="POST" enctype="multipart/form-data">
        @csrf
        <input type="file" name="file">
        <button type="submit">Upload</button>
    </form>
</body>
</html>
Step 2: Create a Controller Method for File Upload
Next, you’ll need a controller method to handle the file upload. You can create a new controller or use an existing one. Here’s an example of a controller method:
// app/Http/Controllers/FileUploadController.php

namespace App\Http\Controllers;

use Illuminate\Http\Request;

class FileUploadController extends Controller
{
    public function showForm()
    {
        return view('upload');
    }

    public function upload(Request $request)
    {
        // file size validation in laravel
        $request->validate([
            'file' => 'required|file|mimes:jpeg,png,pdf|max:2048|min:1024', // Adjust min and max values as needed
        ]);

        // Handle the file upload here (e.g., save to storage)

        return redirect()->back()->with('success', 'File uploaded successfully!');
    }
}
In this example, the upload method handles the file upload with min and max size validation. Here are an illustration of the above given code:
'file'is the name of the input field in the form.'required'ensures that a file must be uploaded.'file'ensures that the uploaded input is a file.'mimes'validates the file type (you can customize this list).'max'specifies the maximum file size in kilobytes (in this case, 2MB).'min'specifies the minimum file size in kilobytes (in this case, 1MB).
Step 3: Define Routes
Now, define the routes in your routes/web.php file to associate these controller methods with the appropriate URLs:
// routes/web.php

use Illuminate\Support\Facades\Route;
use App\Http\Controllers\FileUploadController;

Route::get('/upload', [FileUploadController::class, 'showForm'])->name('show.upload.form');
Route::post('/upload', [FileUploadController::class, 'upload'])->name('upload.file');
Step 4: Create a View for Success and Errors (Optional)
You can create a view to display success or error messages to the user after the upload is processed. Here’s an example:
<!-- resources/views/upload.blade.php -->

@if(session('success'))
    <div class="alert alert-success">
        {{ session('success') }}
    </div>
@endif

@if($errors->any())
    <div class="alert alert-danger">
        <ul>
            @foreach($errors->all() as $error)
                <li>{{ $error }}</li>
            @endforeach
        </ul>
    </div>
@endif
Step 5: Test the File Upload
Now, you can access the file upload form by visiting /upload in your web browser. Test the file upload process, ensuring that files larger than the specified limit trigger validation errors.
Conclusion
That’s it! You’ve successfully implemented file upload min max size validation in your Laravel 10|9|8 application.