Securing the forms in any web application such as php, laravel, node js, etc from spam, attackers, bots and hackers is a big concern, to prevent this Google has introduced V3 reCAPTCHA, with the help of which you can secure the forms.
Google v3 ReCAPTCHA provides a mechanism that protects your forms from spammers, bots, hackers, and abuse attacks, Just register your site or page with google v3 and use it with your forms in Laravel applications.
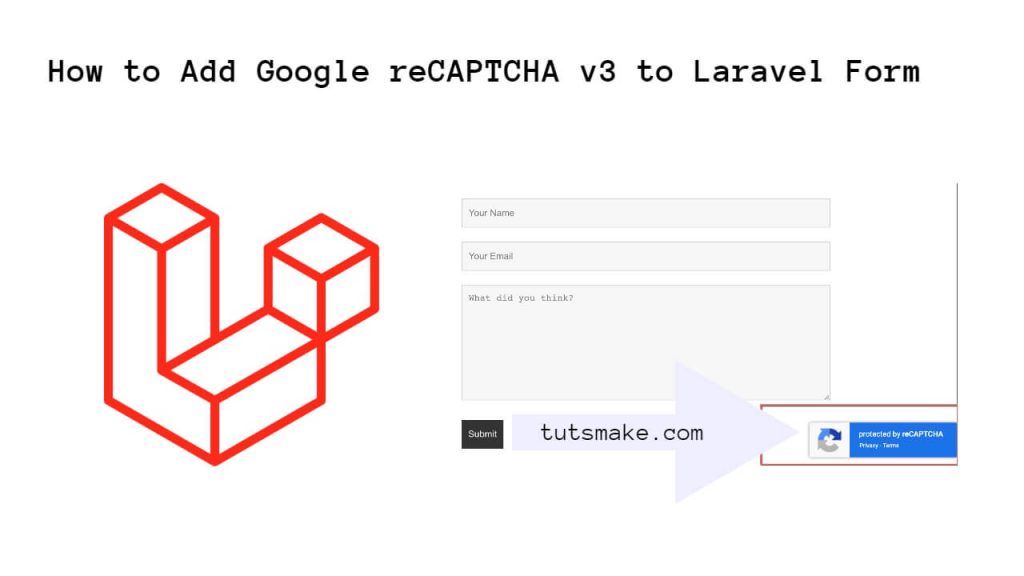
In this guide, we will create a simple form & add Google v3 recaptcha in it, and use it to see how our form is kept secure in Laravel 11 application with google recaptcha v3 validation.
How to Add Google reCAPTCHA v3 to Laravel 11 Form
Steps to add google reCaptcha v3 validation on laravel 11 forms:
Step 1 – Configure reCAPTCHA v3 Site
Open .env file from project root directory and add reCAPTCHA v3 site key & site secret in it like the following:
RECAPTCHAV3_SITE_KEY=secret_site_key
RECAPTCHAV3_SECRET_KEY=secret_key
If you have not registered your site with google v3 recaptcha website. So, you can visit https://www.google.com/recaptcha/admin/create, and register your site by filling simple Google form, and it will give you site key and site secret.
Step 2 – Define Routes
Define routes to display and send the form for validation using reCAPTCHA v3 validation on the view and controller, simply open the web.php file from the routes folder and define the routes in it like the following:
use App\Http\Controllers\GRVController;

Route::get('form', [GRVController::class, 'index']);
Route::post('validate-recaptcha-v3', [GRVController::class, 'validateByReCaptchaV3']);
Step 3 – Make a Validation Rule using Recaptcha V3
To run the following command to create a validation class for recaptcha v3 form validation:
php artisan make:rule V3ReCaptcha
Now, open the ReCaptcha.php file from the app/rules/ folder and create a validation rule for the form using ReCaptcha validation in it:
<?php

namespace App\Rules;

use Illuminate\Contracts\Validation\Rule;
use Illuminate\Support\Facades\Http;

class V3ReCaptcha implements Rule
{
    /**
     * Create a new rule instance.
     *
     * @return void
     */
    public function __construct()
    {

    }
    /**
     * Determine if the validation rule passes.
     *
     * @param  string  $attribute
     * @param  mixed  $value
     * @return bool
     */
    public function passes($attribute, $value)
    {
        $response = Http::get("https://www.google.com/recaptcha/api/siteverify",[
            'secret' => env('RECAPTCHAV3_SITE_KEY'),
            'response' => $value
        ]);

        return $response->json()["success"];
    }
    /**
     * Get the validation error message.
     *
     * @return string
     */
    public function message()
    {
        return 'The google recaptcha is required.';
    }
}
Step 4 – Create Controller File
To create the controller file run the following command:
php artisan make:controller GRVController
Now open the GRVController.php file in the App/Http/Controller/ folder, and create two methods in it, which will show the recaptcha v3 form and validate it on the server, you can create these methods like this:
<?php

namespace App\Http\Controllers;

use Illuminate\Http\Request;
use App\Rules\V3ReCaptcha;

class GRVController extends Controller
{
    /**
     * Write code on Method
     *
     * @return response()
     */
    public function index()
    {
        return view('recaptcha-form');
    }

    /**
     * Write code on Method
     *
     * @return response()
     */
    public function validateByReCaptchaV3(Request $request)
    {
        $request->validate([
            'name' => 'required',
            'email' => 'required|email',
            'phone' => 'required|digits:10|numeric',
            'subject' => 'required',
            'message' => 'required',
            'g-recaptcha-response' => ['required', new V3ReCaptcha]
        ]);

        return redirect()->back()->with(['success' => 'Form Successfully Validated by Recaptcha v3']);
    }
}
Step 5 – Create Blade File
Now, open recaptcha-form.blade.php file inside resources/views folder, and create form with recaptcha v3 in it, like the following:
<!DOCTYPE html>
<html>
<head>
	<title>How to Add Google V3 Recaptcha Validation In Laravel 11 Forms - Tutsmake.com</title>
	<meta name="csrf-token" content="{{ csrf_token() }}">

  <link href="https://cdn.jsdelivr.net/npm/[email protected]/dist/css/bootstrap.min.css" rel="stylesheet" integrity="sha384-EVSTQN3/azprG1Anm3QDgpJLIm9Nao0Yz1ztcQTwFspd3yD65VohhpuuCOmLASjC" crossorigin="anonymous">
    <script src="https://code.jquery.com/jquery-3.4.1.min.js"></script>
    <script src="https://www.google.com/recaptcha/api.js?render={{ env('RECAPTCHAV3_SITE_KEY') }}"></script>

</head>
<body>

<div class="container mt-4">

  @if(session('status'))
    <div class="alert alert-success">
        {{ session('status') }}
    </div>
  @endif

  <div class="card">
    <div class="card-header text-center font-weight-bold">
      <h2>How to Add Google V3 Recaptcha Validation In Laravel 11 Forms - Tutsmake.com</h2>
    </div>
    <div class="card-body">
       <form method="POST" action="{{ url('validate-recaptcha-v3') }}" id="googleCaptchaForm">
          {{ csrf_field() }}

          <div class="row">
              <div class="col-md-6">
                  <div class="form-group">
                      <strong>Name:</strong>
                      <input type="text" name="name" class="form-control" placeholder="Name" value="{{ old('name') }}">
                      @if ($errors->has('name'))
                          <span class="text-danger">{{ $errors->first('name') }}</span>
                      @endif
                  </div>
              </div>
              <div class="col-md-6">
                  <div class="form-group">
                      <strong>Email:</strong>
                      <input type="text" name="email" class="form-control" placeholder="Email" value="{{ old('email') }}">
                      @if ($errors->has('email'))
                          <span class="text-danger">{{ $errors->first('email') }}</span>
                      @endif
                  </div>
              </div>
          </div>
          <div class="row">
              <div class="col-md-6">
                  <div class="form-group">
                      <strong>Phone:</strong>
                      <input type="text" name="phone" class="form-control" placeholder="Phone" value="{{ old('phone') }}">
                      @if ($errors->has('phone'))
                          <span class="text-danger">{{ $errors->first('phone') }}</span>
                      @endif
                  </div>
              </div>
              <div class="col-md-6">
                  <div class="form-group">
                      <strong>Subject:</strong>
                      <input type="text" name="subject" class="form-control" placeholder="Subject" value="{{ old('subject') }}">
                      @if ($errors->has('subject'))
                          <span class="text-danger">{{ $errors->first('subject') }}</span>
                      @endif
                  </div>
              </div>
          </div>
          <div class="row">
              <div class="col-md-12">
                  <div class="form-group">
                      <strong>Message:</strong>
                      <textarea name="message" rows="3" class="form-control">{{ old('message') }}</textarea>
                      @if ($errors->has('message'))
                          <span class="text-danger">{{ $errors->first('message') }}</span>
                      @endif
                      @if ($errors->has('token'))
                          <span class="text-danger">{{ $errors->first('token') }}</span>
                      @endif
                  </div>
              </div>
          </div>

          <div class="form-group text-center">
              <button class="btn btn-success btn-submit">Submit</button>
          </div>
      </form>
    </div>
  </div>
</div>
<script type="text/javascript">
    $('#googleCaptchaForm').submit(function(event) {
        event.preventDefault();

        grecaptcha.ready(function() {
            grecaptcha.execute("{{ env('RECAPTCHAV3_SITE_KEY') }}", {action: 'simple_recaptcha_form'}).then(function(token) {
                $('#googleCaptchaForm').prepend('<input type="hidden" name="token" value="' + token + '">');
                $('#googleCaptchaForm').unbind('submit').submit();
            });;
        });
    });
</script>
</body>
</html>
Step 6 – Start and Test Application
Run php artisan serve command on cmd to start test application:
php artisan serve
Open your browser and hit the following url in it:
http://127.0.0.1:8000/form
Conclusion
With the help of this guide, you have learned how to secure your Laravel 11 application forms using Google v3 Recaptcha.