Uploading and Previewing Images in Laravel 11 Create a form with input file for image upload, and use jQuery FileReader() function with the input file, and it shows the preview image before uploading in Laravel.
In this guide, we will create a simple file upload form in Blade View and bind the jQuery FileReader() function with img tag to display an image preview on the view file before uploading it to the database and folder in the Laravel application.
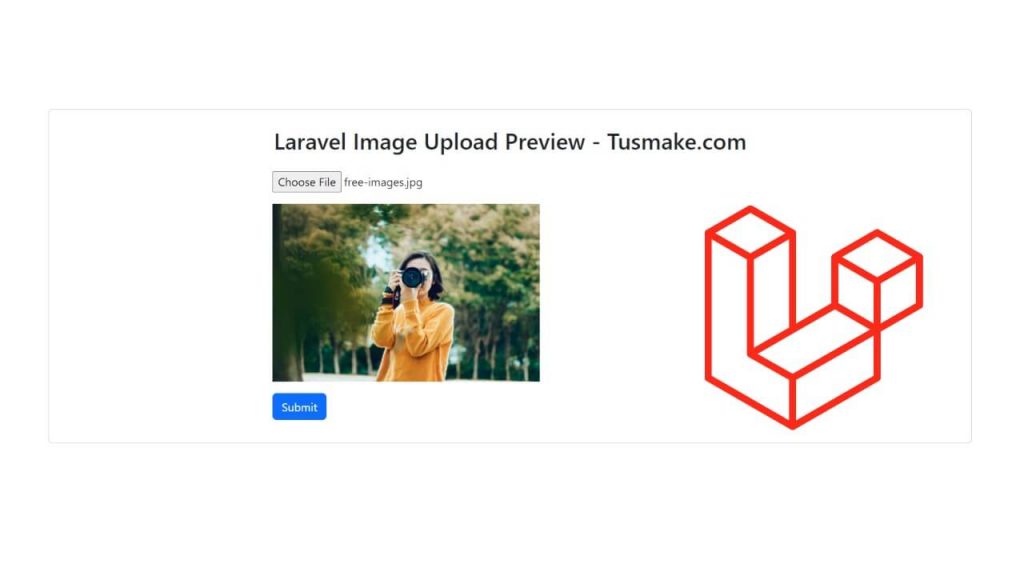
How to Preview Image Before Upload in Laravel 11
Steps for previewing images Before uploading in db and folder in laravel 11 applications:
Step 1 – Download New Laravel Application
Run composer create-project --prefer-dist laravel/laravel myBlog command on cmd or terminal window to install fresh new laravel application into your system:
composer create-project --prefer-dist laravel/laravel myBlog
Step 2 – Define Image Upload and Preview Routes
Open web.php from the routes folder, and define two routes for display preview before uploading the image in it, like the following:
use App\Http\Controllers\ImageUploadPreviewController;

Route::get('image-form', [ImageUploadPreviewController::class, 'index']);
Route::post('upload', [ImageUploadPreviewController::class, 'uploadImage']);
Step 3 – Create Controller File
Run php artisan make:controller ImageUploadPreviewController on cmd to create the controller file that handles the image uploading and preview functionality by methods:
php artisan make:controller ImageUploadPreviewController
Now open the ImageUploadPreviewController.php file from the app/http/controllers folder, and create two methods in it like the following, of which the first method will display the image upload form and the second method will handle the image upload:
<?php

namespace App\Http\Controllers;

use Illuminate\Http\Request;

class ImageUploadPreviewController extends Controller
{
     public function index()
    {
        return view('image-upload');
    }

    public function uploadImage(Request $request)
    {

        $validatedData = $request->validate([
         'image' => 'required|image|mimes:jpg,png,jpeg,gif,svg|max:2048',
        ]);

        $name = $request->file('image')->getClientOriginalName();

        $path = $request->file('image')->store('public/images');

        return redirect('image-form')->with('status', 'Uploaded............');

    }
}
Step 4 – Create Blade View
Now create a blade view file named image-upload.blade.php in resources/views folder, and then create a image upload form in it like the following:
<!DOCTYPE html>
<html>
<head>
    <title>Laravel 11 Image Preview Before Upload - Tutsmake.com</title>

  <link href="https://cdn.jsdelivr.net/npm/[email protected]/dist/css/bootstrap.min.css" rel="stylesheet" integrity="sha384-QWTKZyjpPEjISv5WaRU9OFeRpok6YctnYmDr5pNlyT2bRjXh0JMhjY6hW+ALEwIH" crossorigin="anonymous">

    <meta name="csrf-token" content="{{ csrf_token() }}">

</head>
<body>

<div class="container">

    <div class="panel panel-primary card mt-5">

      @if(session('status'))
    <div class="alert alert-success">
        {{ session('status') }}
    </div>
  @endif

        <div class="panel-heading text-center mt-4">
            <h2>Laravel 11 Image Upload Preview - Tusmake.com</h2>
        </div>

        <div class="panel-body card-body" style="margin-left: 22%;">

        <form method="POST" enctype="multipart/form-data" id="upload-image" action="{{ url('upload') }}" >
                 @csrf

                <div class="mb-3">
                    <div class="form-group">
                        <input type="file" name="image" placeholder="Choose image" id="image">
                          @error('image')
                          <div class="alert alert-danger mt-1 mb-1">{{ $message }}</div>
                          @enderror
                    </div>
                </div>

                <div class="mb-3">
                  <img id="image-preview" src="https://cdn.dribbble.com/users/4438388/screenshots/15854247/media/0cd6be830e32f80192d496e50cfa9dbc.jpg?resize=1000x750&vertical=center"
                        alt="preview image" style="max-height: 250px;">
                </div>

                 <div class="mb-3">
                    <button type="submit" class="btn btn-primary" id="submit">Submit</button>
                </div>
            </div>
        </form>
      </div>

        </div>
    </div>

</div>

</body>

</html>
Now, bind jQuery FileReader() constructor function with img tag to show a preview of an image before uploading in your blade view file, like the following:
  <script src="https://cdnjs.cloudflare.com/ajax/libs/jquery/3.6.0/jquery.min.js"></script>

<script type="text/javascript">

$(document).ready(function (e) {


   $('#image').change(function(){

    let reader = new FileReader();

    reader.onload = (e) => {

      $('#image-preview').attr('src', e.target.result);
    }

    reader.readAsDataURL(this.files[0]);

   });

});

</script>
Step 5 – Run and Test Application
Run php artisan serve command on cmd to start application development server for testing:
php artisan serve
Next open your browser and use this URL into it to test your application:
http://127.0.0.1:8000/image-form
Conclusion
We hope you have learned how to preview an image before uploading with the help of this simple and quick guide.
For any question, just hit the comment box and get your answer.