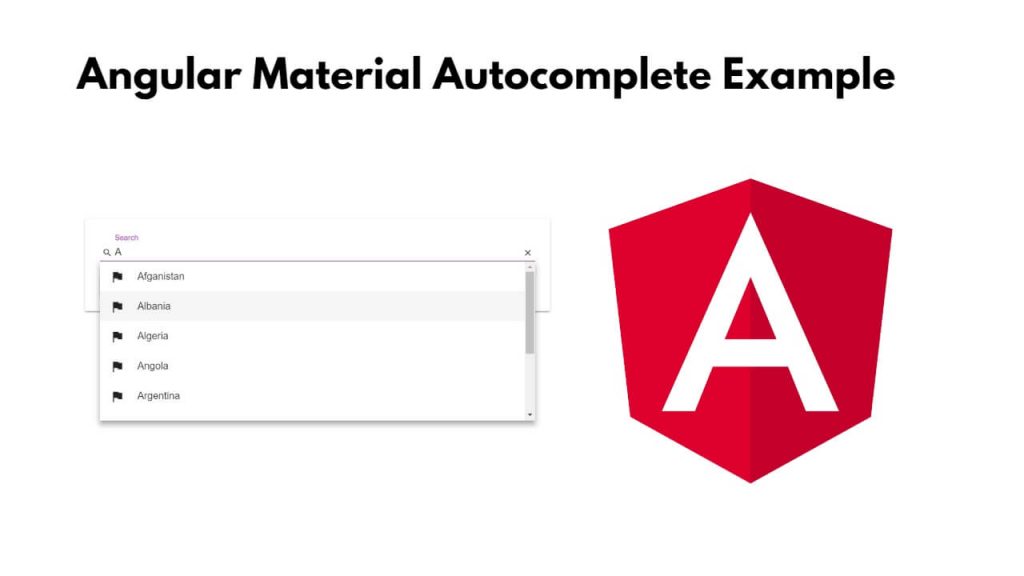
To create autocomplete search using Material UI in Angular 17; Just you have to install Material UI in the Angular application and after that, you can create an autocomplete search in the Angular application with the help of Material UI and populate dynamic data in it by consuming the API.
Let us assume that you want to populate the country list using autocomplete in an input search, then you create the autocomplete with the help of Material UI and bind a service class with it so that you can call the API and populate the country in autocomplete search.
How to Make Autocomplete using Material UI in Angular
Steps to make autocomplete search using material ui module in angular 17 applications:
Step 1 – Create a New Angular App
Simply open cmd or terminal window and type ng new my-new-app --no-standalone into it to create new angular application:
ng new my-new-app --no-standalone
Step 2 – Install Material UI Module
To install material ui module for building autocomplete search application in angular, simply install material ui using ng add @angular/material command on cmd or terminal window:
ng add @angular/material
Step 3 – Import Material UI in Typescript
Navigate to src/app directory and open app.module.ts typescript file, and then import material ui modules into it; like the following:
import { NgModule } from '@angular/core';
import { BrowserModule, provideClientHydration } from '@angular/platform-browser';

import { AppRoutingModule } from './app-routing.module';
import { AppComponent } from './app.component';

import { MatAutocompleteModule } from '@angular/material/autocomplete';
import { MatInputModule } from '@angular/material/input';
import { ReactiveFormsModule } from '@angular/forms';
import { BrowserAnimationsModule } from '@angular/platform-browser/animations';
import { NoopAnimationsModule } from '@angular/platform-browser/animations';
import { HttpClientModule } from '@angular/common/http';


@NgModule({
  declarations: [
    AppComponent
  ],
  imports: [
    BrowserModule,
    AppRoutingModule,
    MatAutocompleteModule,
    MatInputModule,
    ReactiveFormsModule,
    BrowserAnimationsModule,
    NoopAnimationsModule,
    HttpClientModule


  ],
  providers: [
    provideClientHydration()
  ],
  bootstrap: [AppComponent]
})
export class AppModule { }
Step 4 – Create Autocomplete Input in Template
Navigate to src/app/ folder and open app.component.html file, and then create autocomplete search input using material ui into it; like the following:
<h1>Angular 17 material input autocomplete with API - Tutsmake.Com</h1>

<mat-form-field>
  <input type="text" placeholder="Search" matInput [formControl]="myControl" [matAutocomplete]="auto">
  <mat-autocomplete #auto="matAutocomplete">
    <mat-option *ngFor="let option of filteredOptions | async" [value]="option">
      {{ option }}
    </mat-option>
  </mat-autocomplete>
</mat-form-field>
Step 5 – Create a Service Class
To create a service class by consuming apis for autocomplete search, simply use abc command to create it:
ng g s services/post
Navigate to src/app/services/ folder and send HTTP requests on the server from the client side using httpClient.get() method in post.service.ts file to call API for autocomplete search; like following:
import { Injectable } from '@angular/core';
import { HttpClient } from '@angular/common/http';
import { Observable } from 'rxjs';
import { map } from 'rxjs/operators';

@Injectable({
  providedIn: 'root'
})
export class PostService {

  constructor(private http: HttpClient) { }

  getUsers(): Observable<any[]> {
    return this.http.get<any[]>('https://jsonplaceholder.typicode.com/users');
  }
}
Step 6 – Use Service in Component File
Navigate to src/app folder and open app.component.ts, and use service to call api into it to display data on html template; like following:
import { Component } from '@angular/core';
import { FormControl } from '@angular/forms';
import { Observable } from 'rxjs';
import { map, startWith } from 'rxjs/operators';
import { PostService } from './services/post.service';

@Component({
  selector: 'app-root',
  templateUrl: './app.component.html',
  styleUrls: ['./app.component.css']
})
export class AppComponent {
  myControl = new FormControl();
  options: any[] = [];

  filteredOptions: Observable<any[]>;

  constructor(private postService: PostService) {
    this.filteredOptions = this.myControl.valueChanges.pipe(
      startWith(''),
      map(value => this._filter(value))
    );

    this.postService.getUsers().subscribe(users => {
      this.options = users.map(user => user.name);
    });
  }

  private _filter(value: string): any[] {
    const filterValue = value.toLowerCase();
    return this.options.filter(option => option.toLowerCase().includes(filterValue));
  }
}
Step 7 – Start Angular App
Run ng serve command on terminal or cmd to start angular app:
ng serve
Open your browser and type http://localhost:4200, see your angular autocomplete search on browser.
Conclusion
That’s it; you have learned how to create an autocomplete input search in angular 17 apps using material ui.