Multiple images uploading in Laravel 11 is a basic requirement nowadays, you can do it by creating a simple form with an input file and creating a method on the controller file to store images in folder and database with the help of routes.
In this example guide, we will teach you step-by-step how to upload multiple images in the laravel 11 application with verification.
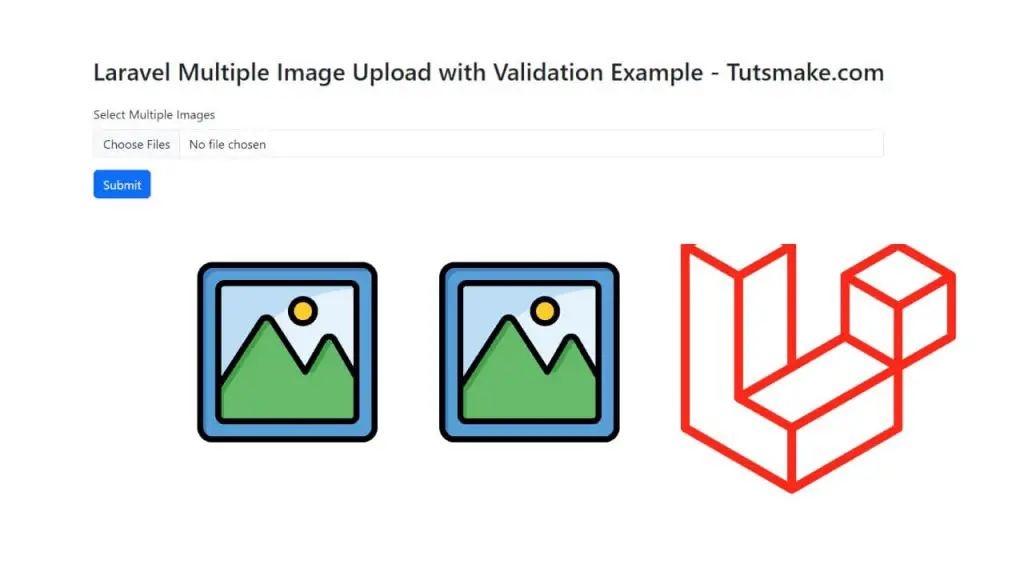
Multiple Image Upload With Validation in Laravel 11
Steps for multiple image uploading with validation example in laravel 11 applications:
Step 1 – Download Laravel Application
Run the composer create-project --prefer-dist laravel/laravel blog command on cmd or terminal window to download and setup new laravel application into your system:
//for windows user
cd xampp/htdocs

//for ubuntu user
cd var/www/html

composer create-project --prefer-dist laravel/laravel blog
Step 2 – Create Routes
Open the web.php file from the routes folder, and create two routes in it, one to show the multiple image upload form and the other one used to send the multiple image to the controller method to upload it to DB or folder, like the following:
use App\Http\Controllers\MyUploadController;

Route::get('my-form', [MyUploadController::class, 'index']);

Route::post('upload-image', [MyUploadController::class, 'multipleUpload']);
Step 3 – Create Controller using Artisan Command
Run the php artisan make:controller MyUploadController command on cmd to create a new controller file, which is used to handle multiple image uploads:
php artisan make:controller MyUploadController
Open MyUploadController.php file from app/http/controllers folder, and create two methods in it, the first method will display the multiple image upload form and the second method will handle the uploading functionality like the following:
<?php
namespace App\Http\Controllers;
use Illuminate\Http\Request;

class MyUploadController extends Controller
{
   public function index()
    {
        return view('upload-form');
    }
    public function multipleUpload(Request $request)
    {

        $validateImageData = $request->validate([
	    'images' => 'required',
         'images.*' => 'mimes:jpg,png,jpeg,gif,svg'
        ]);

        if($request->hasfile('images'))
         {
            foreach($request->file('images') as $key => $file)
            {
                $path = $file->store('public/images');
                $name = $file->getClientOriginalName();

            }
         }

        return redirect('my-form')->with('status', 'Images has been uploaded');
    }
}
Step 4 – Create Upload Form in Views
Now, go to the resources/views folder and create the upload-form.blade.php file in it, and then create a form with input file fields that allow the user to select more than one image into it and upload it on server. Like the following:
<!DOCTYPE html>
<html>
<head>
  <title>Laravel 11 Multiple Image Upload with Validation Example - Tutsmake.com</title>
  <meta name="csrf-token" content="{{ csrf_token() }}">
  <link href="https://cdn.jsdelivr.net/npm/[email protected]/dist/css/bootstrap.min.css" rel="stylesheet" integrity="sha384-QWTKZyjpPEjISv5WaRU9OFeRpok6YctnYmDr5pNlyT2bRjXh0JMhjY6hW+ALEwIH" crossorigin="anonymous">
</head>
<body>
<div class="container mt-5">
  @if(session('status'))
    <div class="alert alert-success" style="margin: 1% 8%">>
        {{ session('status') }}
    </div>
  @endif
  <div class="main">
    <div class="card-header text-center font-weight-bold mb-2">
      <h2>Laravel 11 Multiple Image Upload with Validation Example - Tutsmake.com</h2>
    </div>
      <form name="upload-multiple-image" method="POST"  action="{{ url('upload-image') }}" accept-charset="utf-8" enctype="multipart/form-data">
        @csrf

          <div class="row" style="margin: 2% 8%">

            <div class="mb-3">
              <label for="formFile" class="form-label">Select Multiple Images</label>
              <input type="file" class="form-control" id="images" name="images[]" multiple="">
            </div>

                  @error('images')
                      <div class="alert alert-danger mt-1 mb-1">{{ $message }}</div>
                  @enderror


              <div class="col-md-12">
                  <button type="submit" class="btn btn-primary" id="submit">Submit</button>
              </div>
          </div>
      </form>
  </div>
</div>
</body>
</html>
Step 5 – Start Development Server
Run php artisan serve command to start the development server for testing:
php artisan serve
Open your browser and type the following URL into it:
http://127.0.0.1:8000/my-form
Conclusion
We hope that with the help of this example guide, you have learned how to upload two or more images in Laravel 11 application.