To install the latest Java jdk 21 on Windows 11|10, you need to download the java jdk exe file from the official website of Oracle’s Java, and then double-click the downloaded Java installer file to start the installation process, and it will install it on your Windows.
How to Download and Install Java JDK 21 on Windows 11 | 10
Steps to download and install the Java JDK 21 application on Windows 11 or 10:
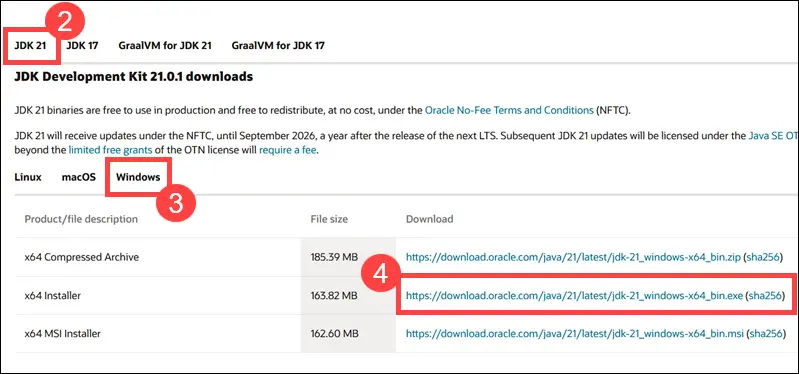
Step 1: Go to the official Oracle’s Java Website
Go to the Oracle’s Java website: https://www.oracle.com/java/technologies/downloads/#jdk21-windows, and Download java JDK lastest version on your Windows system folder or directory.
Step 2: Run Java Installer
Now go to the download directory of your computer and double-click on the downloaded java installer exe file to start the installation process.
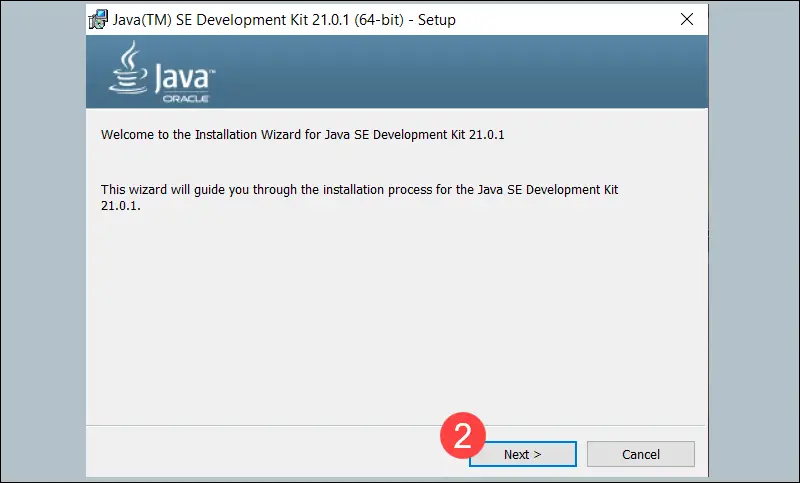
Step 3: Java installation
Now java JDK 21 installation prompt will open on your Windows screen, the installation process will start, and it will take some minutes to install in the system; as shown below:
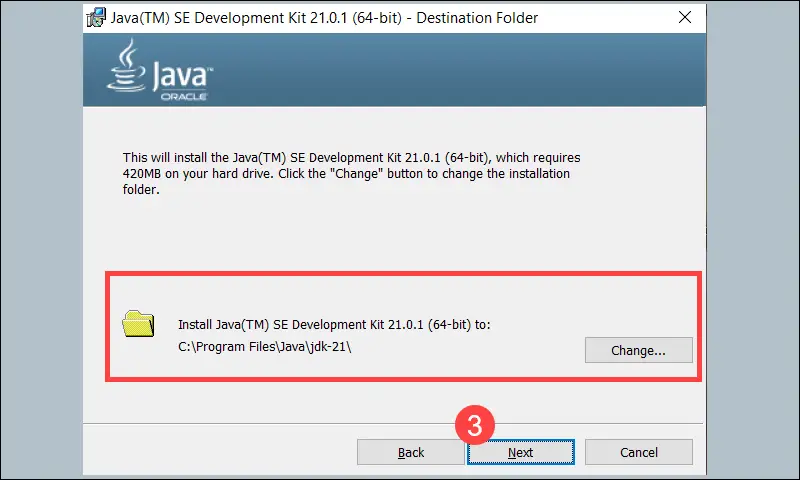
Once you click Next, the screen now opens for you to set the folder path for Java installation, here you can choose the path to the directory in which you want to install Java, or choose the default path. Can. Leave it set and click Next:
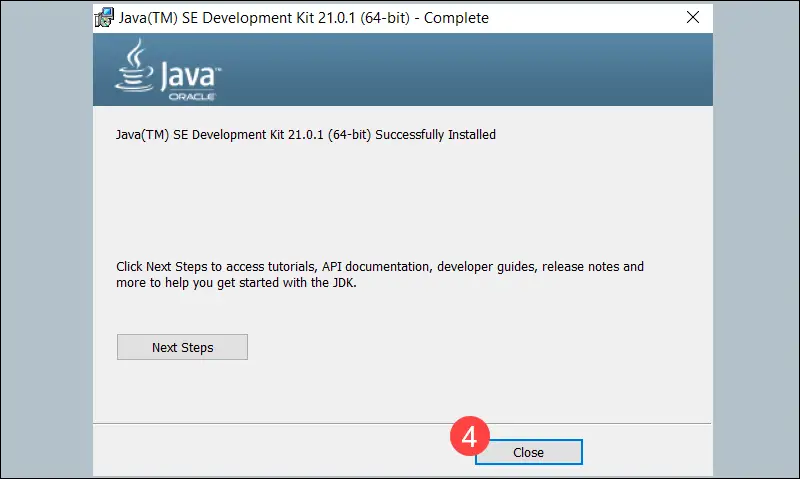
Now the screen will open in front of you that Java installation has been completed, you can see about it below:
Step 4: Set Java Environment Variables in Windows
To set the java JDK path in system environment variables in Windows 11|10, you can do the following:
- Open System Properties
- Open the Environment Variable window
- Select the Path variable under the system variables
- Click on the Edit button
- Select the New button
- Specify the java JDK directory’s path
- Click on the OK button to save
Step 5: Verify Java Installation on Windows
Once you have installed and set the java environment variable, you can verify that it is set correctly by opening a command prompt and typing the following command:
java --versionOr if you have any queries regarding the installation of the java on Windows 11 or 10, you can clear them by watching the YouTube video given here as a visual guide. Apart from this, you can also mail us, mail id is [email protected].
Conclusion
That’s it; You have successfully downloaded and installed java JDK on Windows 11 or 10. As well as set the path of java to system environment variables.