To download and install PostgreSQL Windows 11|10, you need to download the PostgreSQL installer exe file from its official website, and then run the installer by double-clicking on the downloaded installer exe file. With the help of the Postgre installer exe file, you can easily install and set up the PostgreSQL database on Windows 11|10 64 bit.
How to Install PostgreSQL on Windows 11 | 10 64 bit
Installation Steps of PostgreSQL on Windows 11 or 10 64-bit:
Download PostgreSQL Exe File for Windows 11 | 10
Go to https://www.enterprisedb.com/downloads/postgres-postgresql-downloads website to download PostgreSQL for Windows 11 | 10 64-bit.
Once you download the PostgreSQL installer file from the official PostgreSQL website in your Windows system, you can follow the step-by-step guide for installation of PostgreSQL on Windows 11 | 10 64 bit.
Install PostgreSQL Windows 11 | 10 step by step
Now navigate to the download directory of Windows 11| 10, and Double-click on the postgreSQL installer file for installation. And follow step by step process:
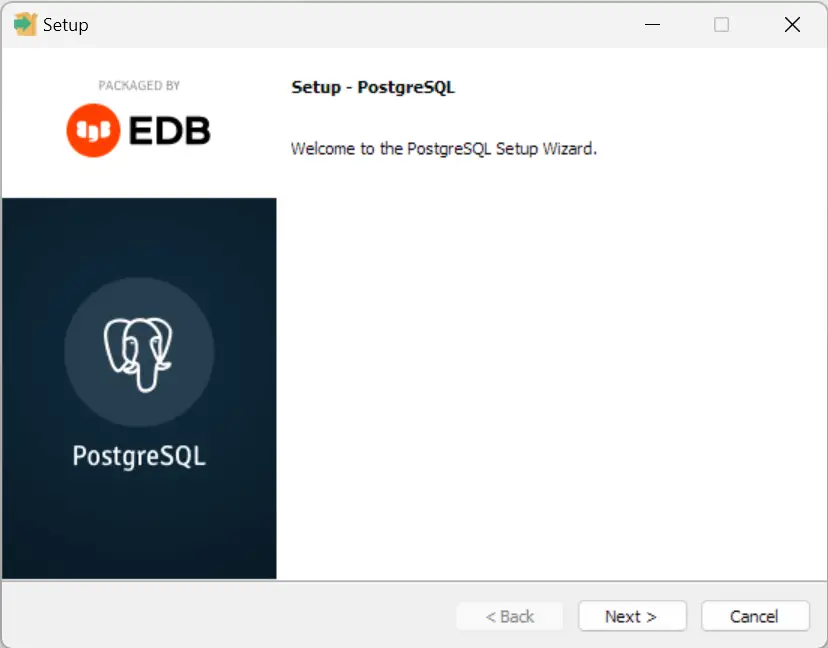
1. Installation Wizard Will Appear on Screen, Click on next button
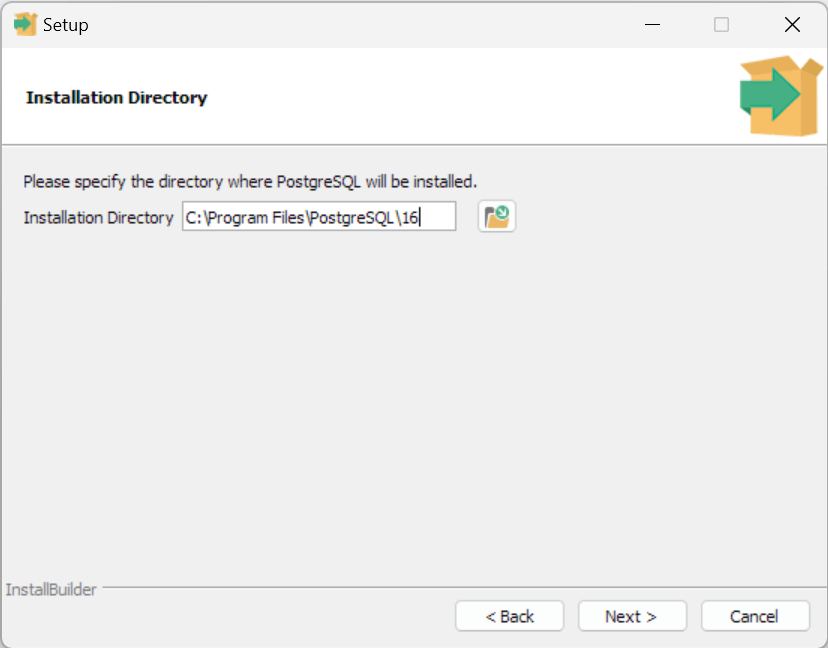
2. Now a next wizard will open on your screen, in which you have to specify the location where you want to install PostgreSQL:
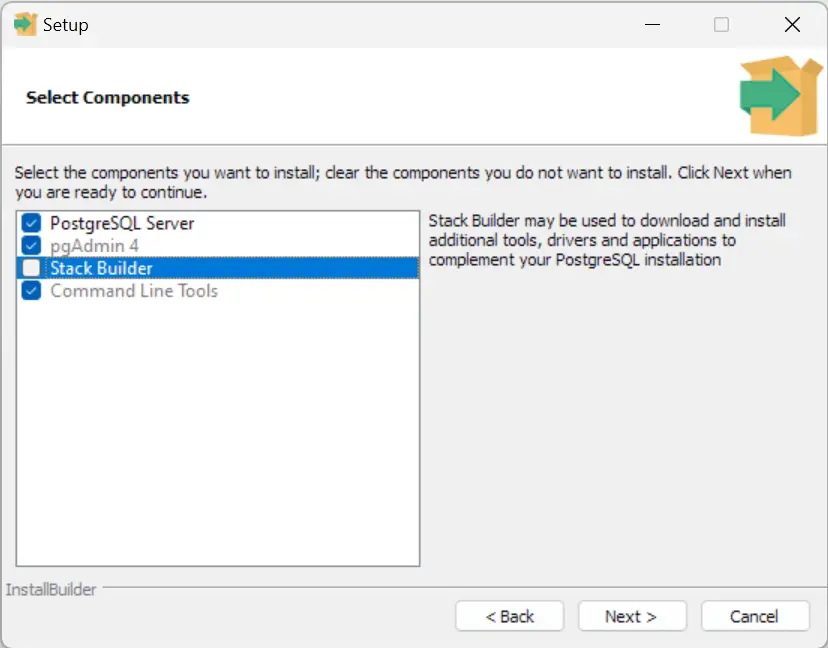
3. Now the wizard for selecting components will open on your screen, in you will see the options of pgAdmin4, PostgreSQL Server, Stack Builder, and command-line tools, whatever components you want to have with PostgreSQL, please check us, Here’s an image, you can see that:
4. The default data directory of PostgreSQL is C:\PostgreSQL data, now the wizard will open, and you have to set specific path of the data directory:

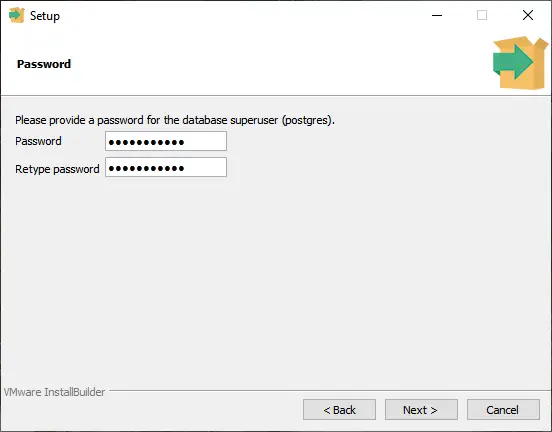
5. Now the wizard for setting the password for the superuser will open on your screen, in this you can set the password, yes it will help you to connect to the PostgreSQL database server:
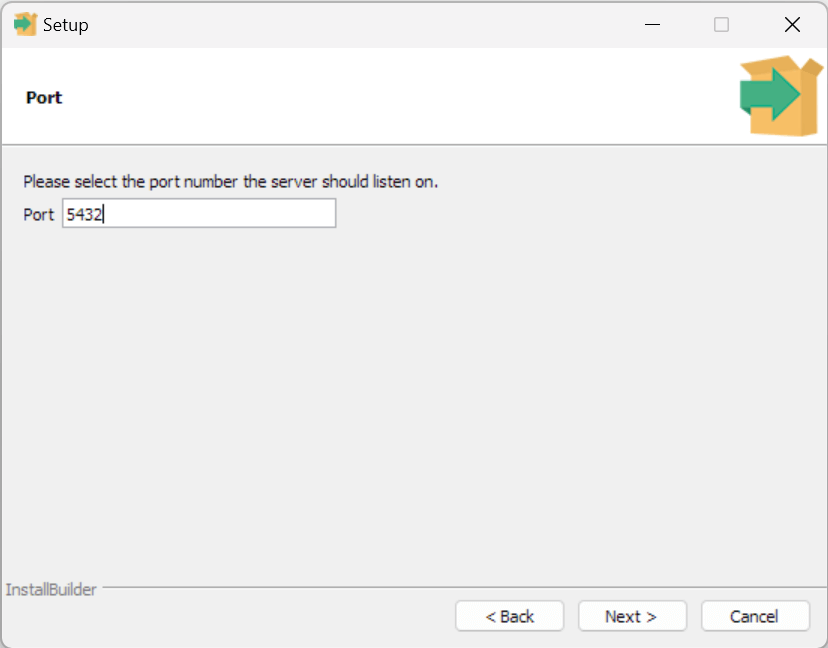
6. The default port of PostgreSQL remains 5432, if you want to set a different port, you can change it in the wizard that opens on your screen:
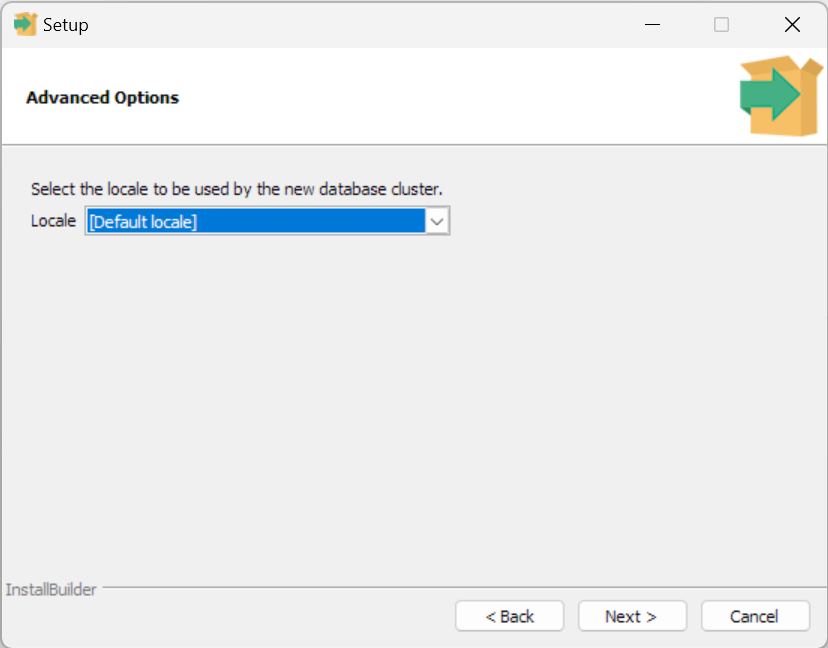
7. Now will see the option to set the local language to use PostgreSQL database on wizard, you can leave it as default or click the Next button:
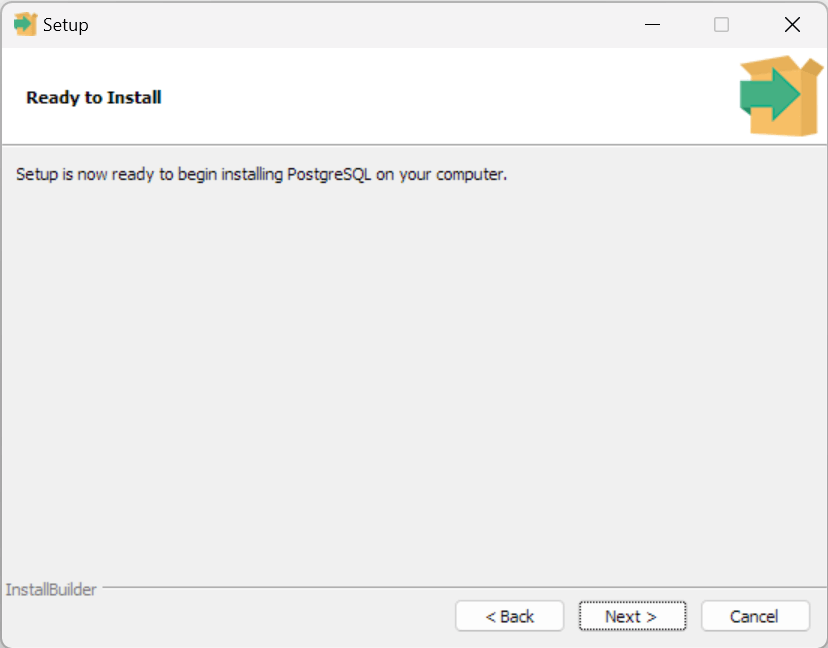
8. Now a pre-installation summary wizard is now visible on your screen. It shows the settings you have made in the previous steps, please review it and click on the Next button:

9. Now the wizard for PostgreSQL installation will be visible on your screen, click on the Next button and the installation process will start in Windows:
The installation of PostgreSQL on Windows has started. Please wait for a few minutes for the installation wizard to finish.
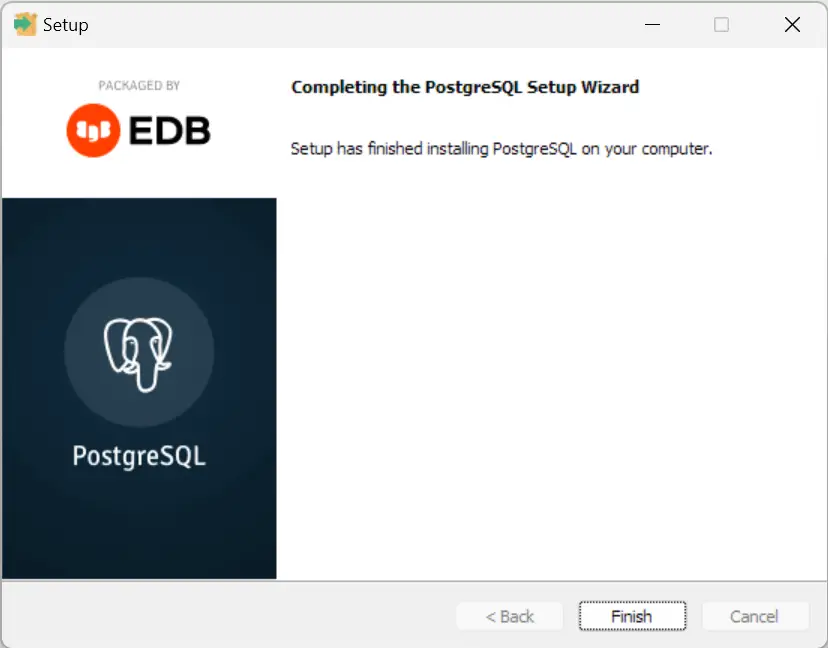
10. Now the finish wizard will open on your screen, click on the finish button to complete the installation.
Conclusion
That’s it! You’ve successfully installed the PostgreSQL database server on Windows 11 | 10 64 bit (step by step).