To change default Apache port numbers 80, and 443 in Xampp windows 11|10; Open httpd.conf file and find Listen 80 to change the port number, And open httpd-sss.conf and find Listen 443 to change the SSL port number, These files are located in C:\xampp\apache\conf\ on Windows 11|10.
There can be many reasons for changing the Apache default port (80 for HTTP and 443 for HTTPS) in XAMPP server, such as port conflict, use of multiple Apache instances, development environment, firewall, or security software, etc.
How to Change Apache Port Numbers in Xampp Windows 11|10
Here are some steps for changing the default Apache port number 443,80 in XAMPP Server with Windows 11:
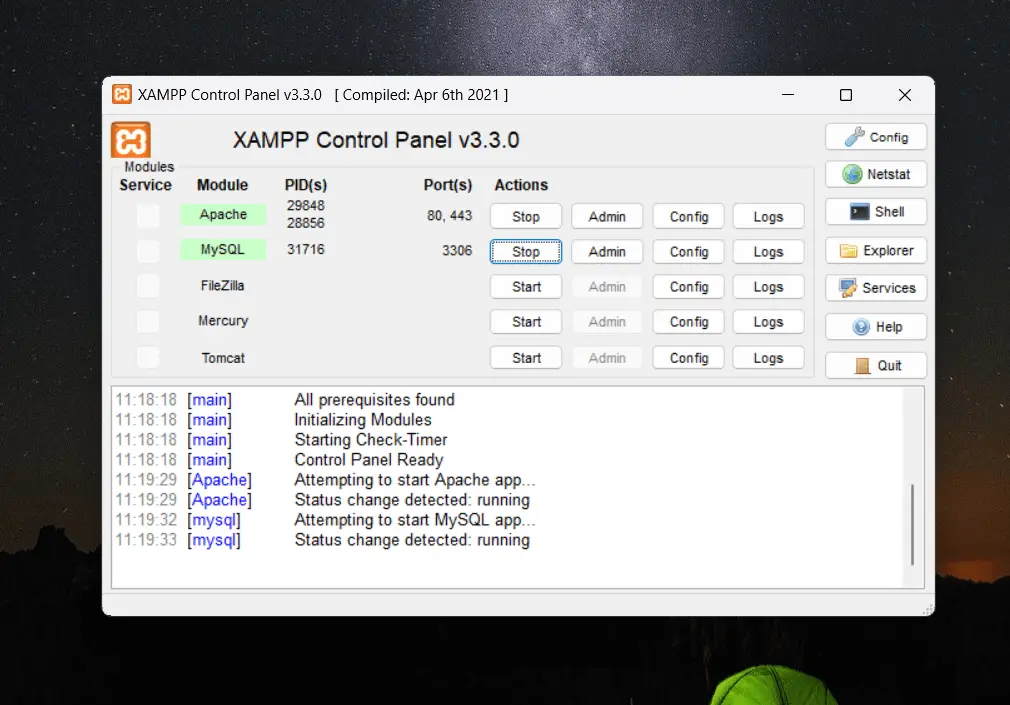
Step 1 – Stop Apache and MySQL in Xampp
To change Apache port in the XAMPP server, you first need to stop Apache and MySQL in the XAMPP server.
Step 2 – Edit httpd.conf
Open the httpd.conf file from Apache configuration directory on any text editor, which is located C:\xampp\apache\conf\httpd.conf.
Step 3 – Change Apache Port Numbers Xampp
Press ctrl + f to find Listen 80 in httpd.conf file and change Listen 80 to Listen 8012; You can change the port number in the file like this:
Listen 80To
Listen 8012Save and close this file to apply the changes.
Next, you need to open httpd-sss.conf file, which is located C:\xampp\apache\conf\httpd.conf.
And in httpd-sss.conf file to find Listen 443, Look for the following line and change apache ssl port number Listen 443 to Listen 8013:
Listen 443To
Listen 8013Save and close this file to apply the changes.
Step 4 – Configure XAMPP Apache server settings
Now, open your xampp control panel, and click config, and select “service & ports settings” to change the ports to 8012 and 8013 and save it.
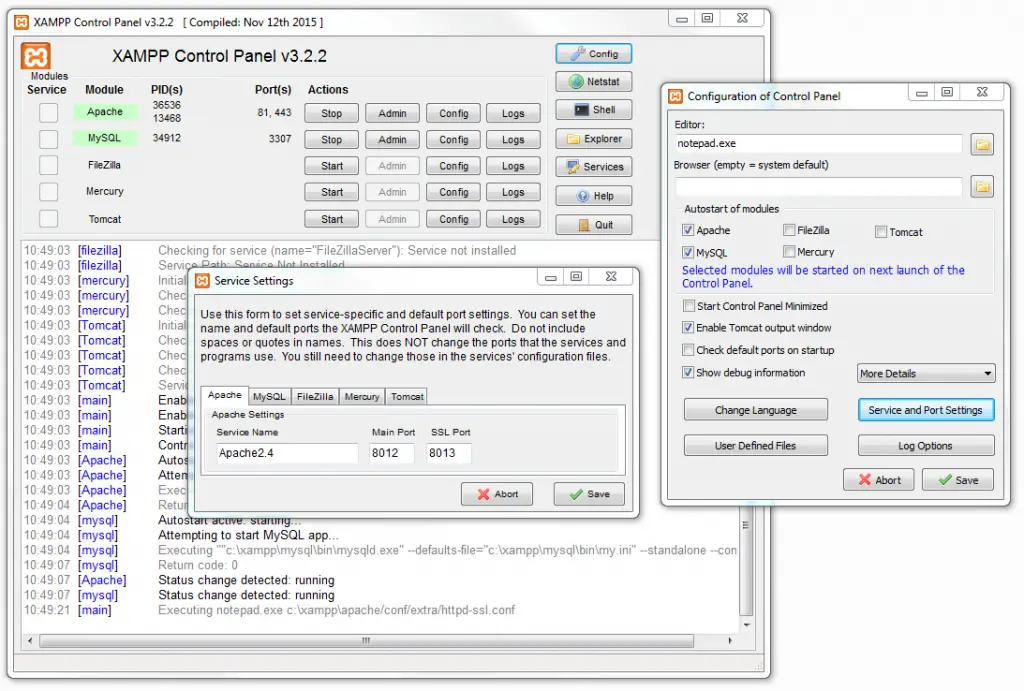
You can use the following steps for that:
- Open Xampp Control Panel
- Go to Config → Service and Port Settings → Apache
- Change the Main Port and SSL Port Numbers with those chosen (e.g.
8012and8013). - Save Service settings and Close prompt
- Save Configuration of Control Panel and close prompt.
Step 5 – Restart Xampp Services
Now it’s time to restart Apache and MySQL in Xampp server, Open the XAMPP control panel, and then restart them again.
Step 6 – Test Apache Port Xampp
Now open your browser and type the below URL with your server IP address or localhost to verify it:
http://[SERVER_PUBLIC_IP]:8012
Conclusion
That’s it; You have learned how to change the default Apache port number 80 and 443 in XAMPP on httpd.conf and httpd-sss.conf files.